Chopper
-
Posts
4,886 -
Joined
-
Last visited
-
Days Won
270
Everything posted by Chopper
-

TB-80419 Requesting Lancer (APPROVED)
Chopper replied to KaiserintheHood's topic in Lancer Deployment Request
Thank you for your application. The review team will go over your photos and get back to you soon. -
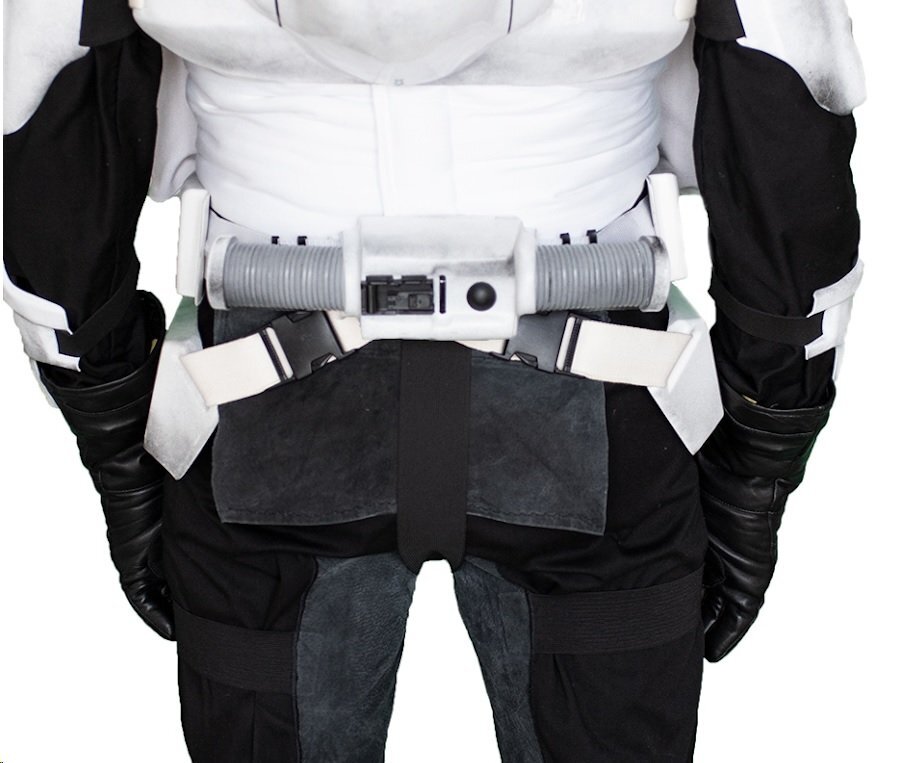
Eyeballing it, but I would take maybe an inch off each side and maybe a half inch off the bottom of the butt flap. You can always try marking the cuts with chalk first to see how it looks. Compare yours with the CRL model:

-
Fist fighting trees and teddy bears: A Scout Story
Chopper replied to Safetymanual's topic in ROTJ Biker Scout WIP
I would hold off on trimming anything until you get your soft goods sorted. Also, tightening the elastic a bit will help them seem less loose on your body. -
The det clips are meant to be black.
-
ParaDax’s RS/WTF ROTJ Scout Build
Chopper replied to ParaDax's topic in ROTJ Biker Scout Armor/Helmet
Did you add backing plates/washers on the inside when you riveted it to the boot shaft? -
You can tape a piece of paper inside the face plate, then trace the lens hole in pencil. Once it's flat, trace a second line that's 10mm wider. That'll give you a tracing pattern if you're cutting the lens shape out of a welding shield, or something similar. You can further trim the shape from there, as needed.
-
FYI, the 1.5" measurement in the CRL is for Level 2/Lancer, not basic clearance.
-
This is the one I bought some years ago: https://www.amazon.com/Stanley-MR77-Swivel-Head-Riveter/dp/B00413959E/ref=sr_1_1?crid=F70QEUZFAHMP&keywords=Stanley%2BMR77C%2BSwivel%2BHead%2BRiveter&qid=1691854717&sprefix=stanley%2Bmr77c%2Bswivel%2Bhead%2Briveter%2Caps%2C94&sr=8-1&th=1
- 1 reply
-
- 1
-

-
Black Series Helmet - NOT APPROVABLE
Chopper replied to Donovan's topic in ROTJ Biker Scout Armor/Helmet
Yep, agreed. That is essentially the TL:DR summary of the post that Dennis linked to. -
That's basically what I did with my drop boxes. Takes a bit more work to rig up, as opposed to the twist method, but the outward end result is the same.
-
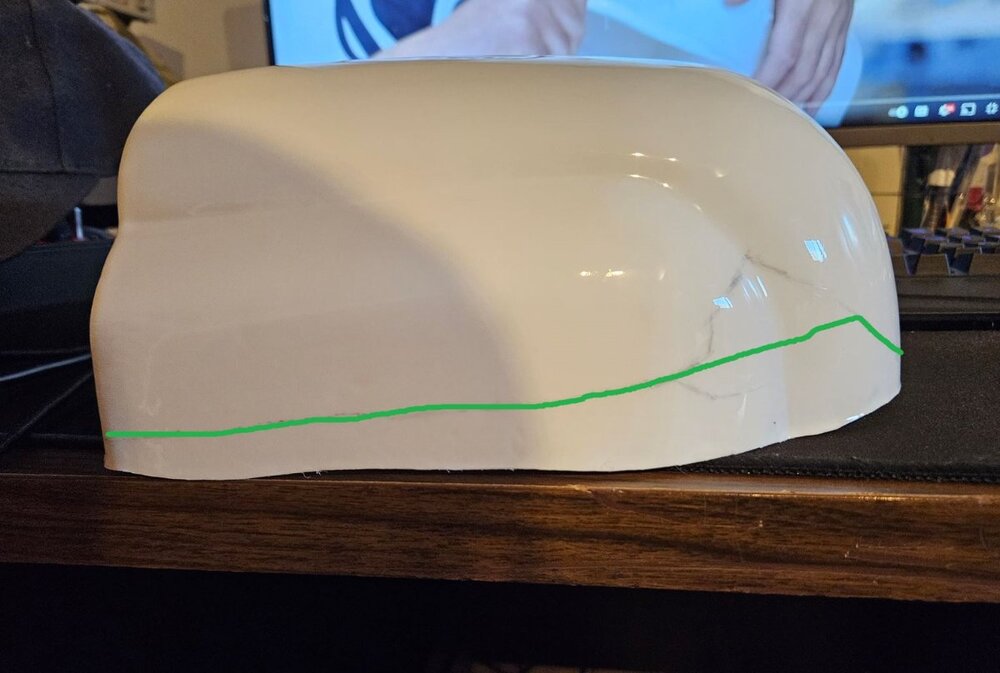
Your lines are in the ballpark. The trickiest part when cutting the tank is making it so that the cuts fit against the "bump" at the base of the back armor. What I would start with, is a cut like this. Then, once you're able to better seat the tank on the back armor, mark and trim out the "cuts" that allow the tank to fit over the "bump" at the base of the back armor.
-
Congrats Frank!
-
What was on screen is a different design than what was originally asked about in the OP.
-
Do you have a photo?
-
The t-bits are black. Have you looked at the holster section of the scout build video? https://www.youtube.com/watch?v=GnipWxolqdU&t=2681s Also you might want to look at the photos from Wide's build thread, here: http://forum.501stpathfinders.com/topic/23660-first-build-rotj-bikerscout/page/3/#comment-227112 Check the post from 23 July 2023.
-
Thank you for your application. The team will review and get back to you.
-
Should be okay for basic at minimum.
-
Check this thread that Mickey posted earlier:
-
Gree gets around. Biker Scout WIP (WTF and 3d print)
Chopper replied to Gree23's topic in ROTJ Biker Scout WIP
The suede patches look fine, though it will depend on how it looks with you wearing it. Are you planning on adding the thigh straps later? -
As per the CRL, a one or two-piece suit is allowed at both Level 1 and 2. "The undersuit is a one or two-piece black textile suit"
-
This is a very old thread, but there's an image in it that might give you a general sense of the shape. Note that the bottom of the patch should not be flat like they have in the template, it should taper and be more rounded at the bottom.
-
Have you looked at this thread yet? http://forum.501stpathfinders.com/topic/19259-undersuit-mods/
-
I think you're in the ballpark. You can probably trim them with what you've marked and always tweak them more as necessary once you've removed the bulk.
-
The Red Kap zipper should be dual ended, so for "number 1" you can move the cod over and use the bottom end of the front-side zipper. For "number 2" you'll need to take some of your armor and soft goods off.
-
Okay, so it's a spot that wouldn't be visible normally? Hard to evaluate without a visual, so I'm just providing some options. Is it possible to get a larger diameter rivet? Otherwise, take some scrap ABS or use a piece of those plastic signs you can get at the hardware store and glue a plate behind the larger hole, then you can re-drill. Or, you can get a set of the 3M bolts and rig them to fit: https://www.amazon.com/dp/B002BUMS8Y/?coliid=ILTCA2MHBZT97&colid=1FW2Z38AXTS5Q&psc=1&ref_=list_c_wl_lv_ov_lig_dp_it