BikerScout007
-
Posts
11,400 -
Joined
-
Last visited
-
Days Won
1,283
Everything posted by BikerScout007
-
I'm pretty excited about this... Working in close coordination with the LMO team, Pathfinders Command and the Armor Team are proud to present the revised Biker Scout CRL! https://databank.501st.com/databank/Costuming:TB_Scout_trooper We've made revisions to both Level 1 and 2 to make an even easier to understand CRL. We hope that this clears up some of the confusion and conflicts over the years and makes it an easier process both for potential Scouts and GMLs. Also, the LMO team has created Galleries for each CRL so that even more photos can be included to aid costume builders and GMLs. We had to make one for the Patrol Trooper and we've just added one for the Biker Scout. Going forward, all our CRLs will eventually have Galleries! https://databank.501st.com/databank/CRL_Gallery:Biker_Scout Thanks to all who contributed to this revision and to the LMO team for making it a smooth process! We are going to be tackling the Kashyyyk next and that costume will finally get its long overdue Level 2! EDIT: Since some folks have asked, here is a comparison document showing the changes between the new CRL and the last version: https://drive.google.com/file/d/1qh3awPCh_vqWPldGj5RFZseujpOFvSUr/view?usp=sharing
-
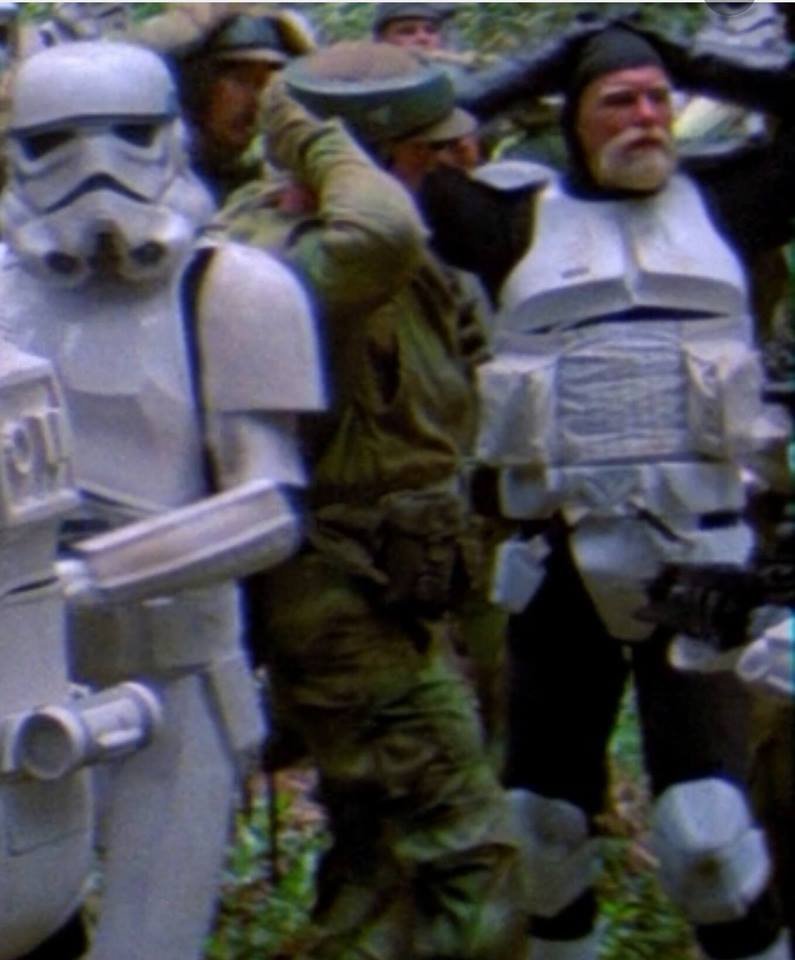
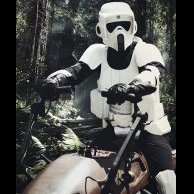
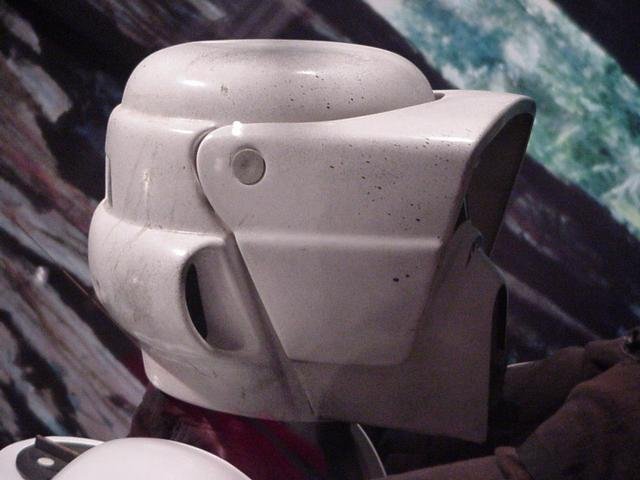
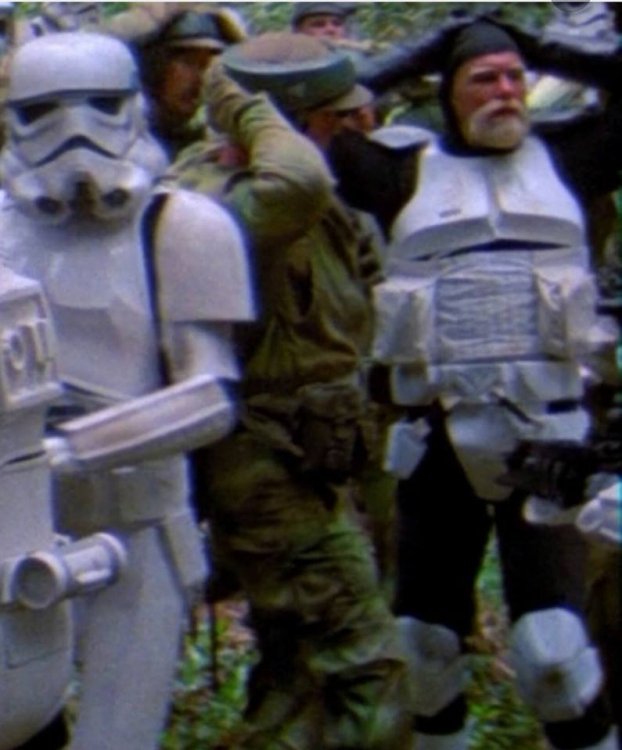
After having them down for a few months, I got the MoM pics back up. While glancing through them, I noticed the shoulder bridges on the display Scout were indeed off white. Now was this because it was dyed off-white or the original material was off-white or the aging process? I can't say for sure. But I know that this is enough for me to leave the option available for those that wish to do it. You can still leave this white and tea stain the other parts for Lancer and that is acceptable as well. Or be like me and leave it all white and shiny

-
My Lancer Scout Attempt (finally)
BikerScout007 replied to mikemakesmovies's topic in ROTJ Biker Scout WIP
Level 2 is Lancer. They're the same thing! -
My Lancer Scout Attempt (finally)
BikerScout007 replied to mikemakesmovies's topic in ROTJ Biker Scout WIP
The CRL has just been updated for Levels 1 AND 2 so make sure you have the latest info: http://databank.501st.com/databank/Costuming:TB_Scout_trooper Good luck and we look forward to your build. -
That would be amazing. That original boot tutorial is 12 years old.
-
Ah these photos are missing too! Okay, I'll try to find them but that might be bit of a tall order. It might be easier for someone (cough, @cheesewhoopy, cough, cough), to make a brand new updated tutorial!
-
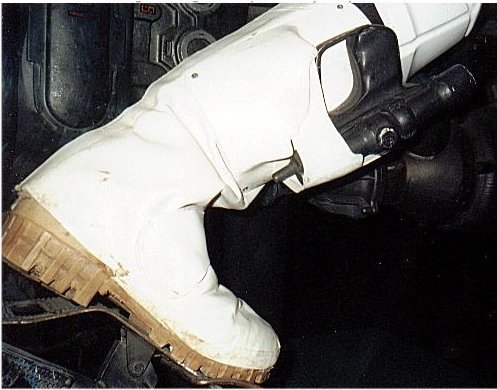
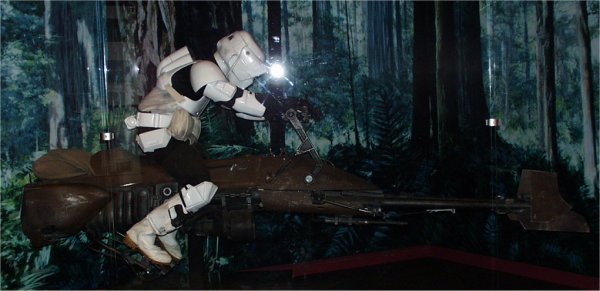
Found them and reposted them: Great shot of the Dogbone in there!
-
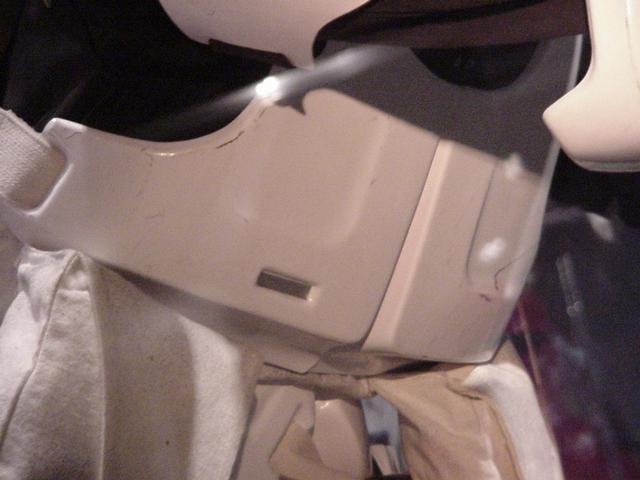
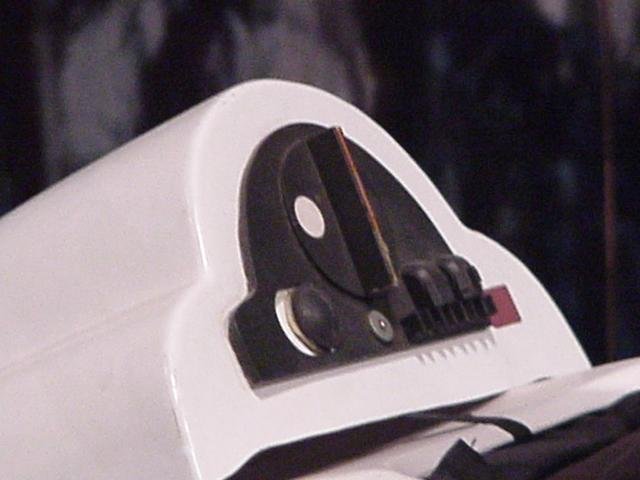
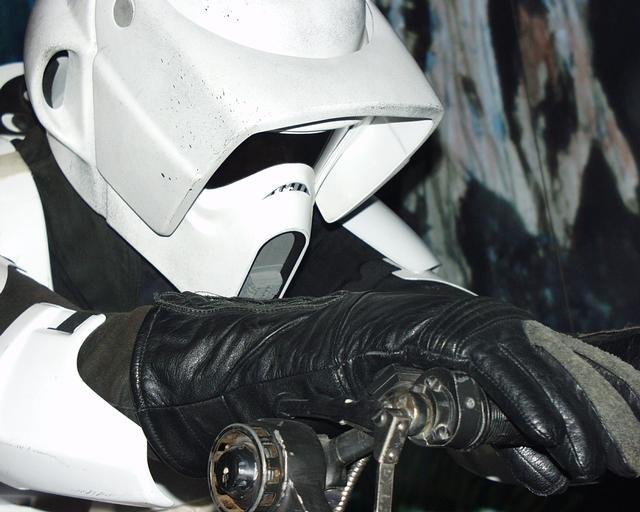
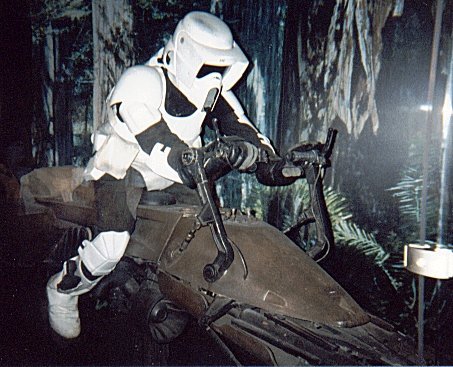
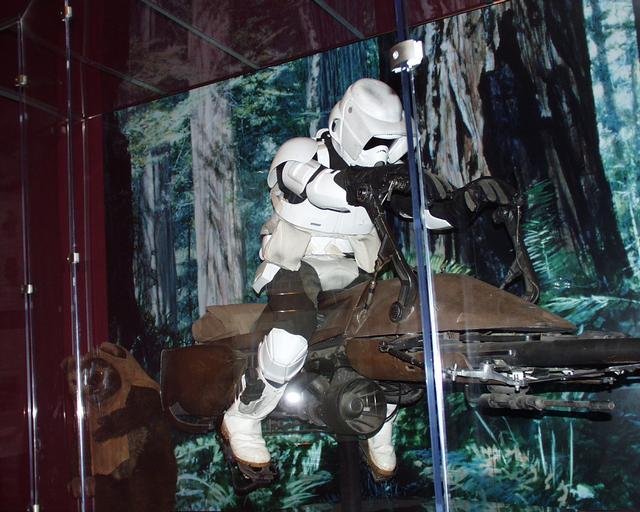
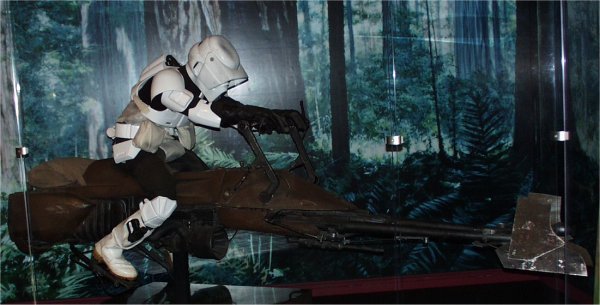
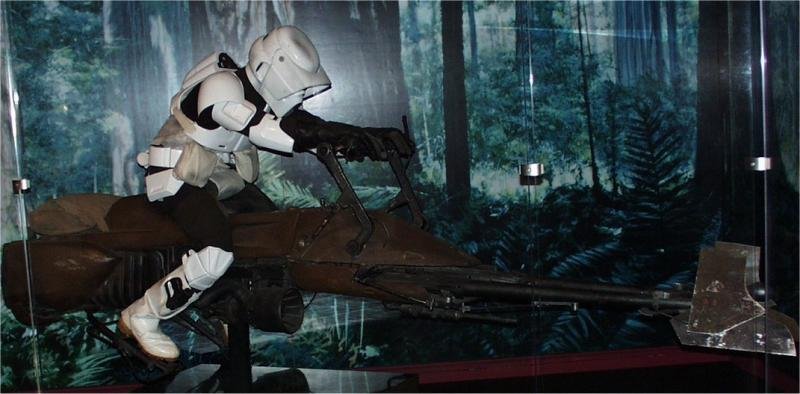
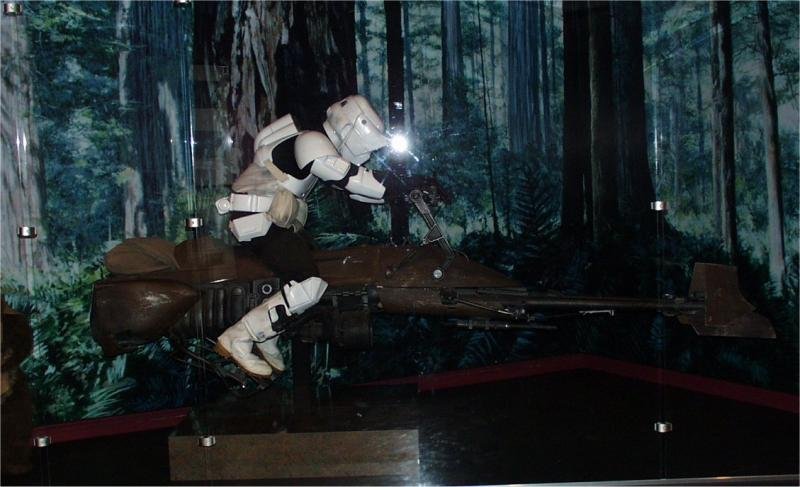
Here are the photos from the Magic of Myth Exhibition from way back in the day. The link below is to the Exhibit's VERY OLD website. https://airandspace.si.edu/exhibitions/star-wars/online/sw-unit1.htm /public_html/images/motmphotos/MOTM_10999.jpg


- 16 replies
-
- 14
-

-

-
BikerScout007's Shoretrooper Captain build
BikerScout007 replied to BikerScout007's topic in Shoretrooper WIP
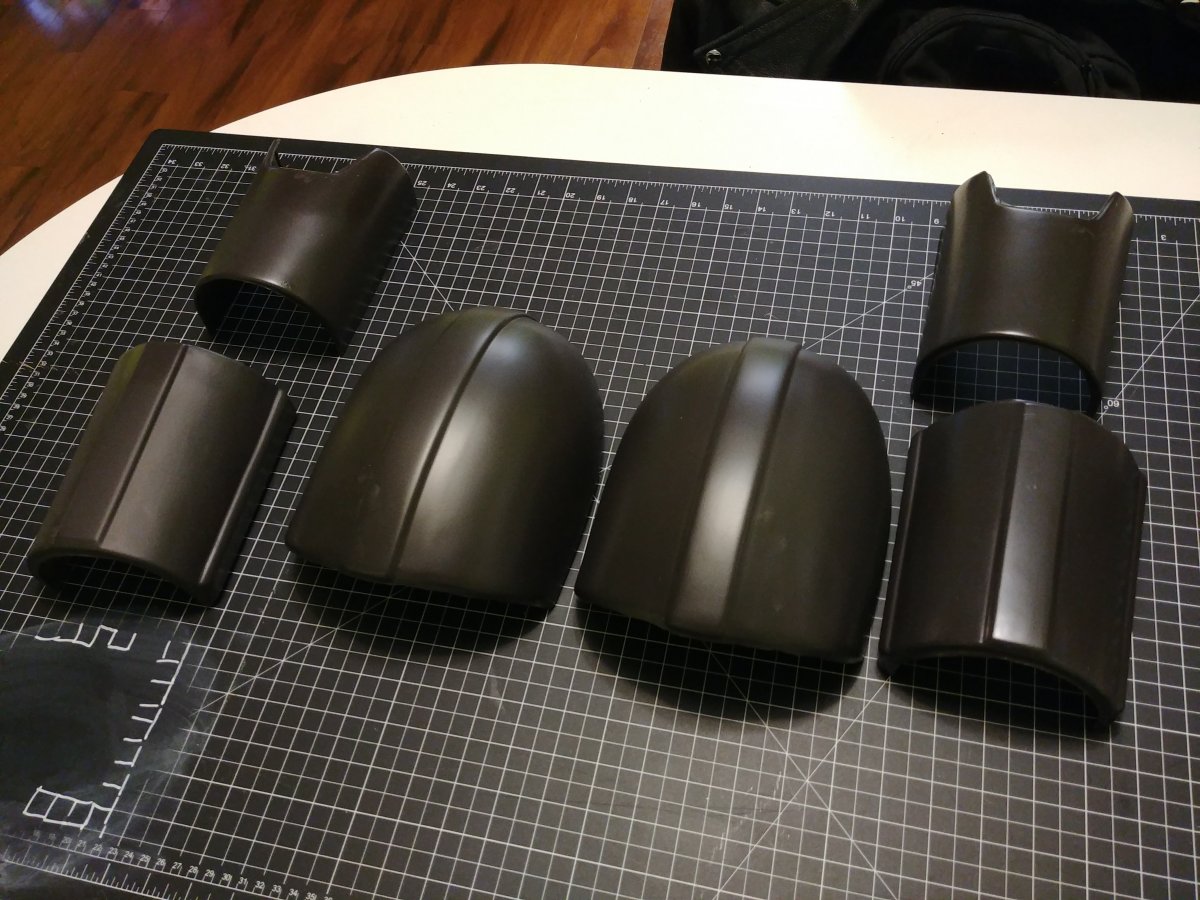
Hit up some pieces with a walnut brown base coat
-
I look forward to your Lancer app! We always want to grow the ranks
-
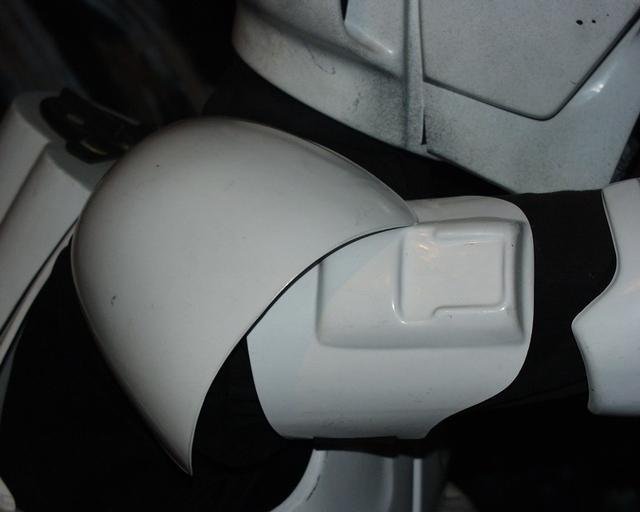
It's optional and you can do it the way you want. The "two circles facing forward on each arm" has been a part of this CRL long before I was a Scout. The Detachment sets its own standards for Level 2 and they don't necessarily have to comport with what was on screen. There were a lot of mistakes, wardrobe errors and other anomalies in the movie that are technically "screen accurate" but arent the best representation of the costume. The t-bit greeblies that come with Scout kits have the two circles on opposite sides from each other. All that we ask is that when taking your Lancer app pics, you face the circles forward. If after that you wish to wear them the other way, that is totally up to you. This is a fit and finish issue more than an accuracy one.
-
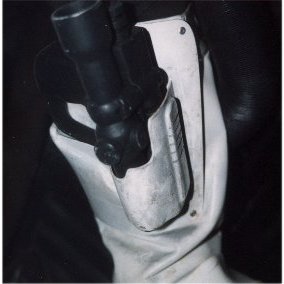
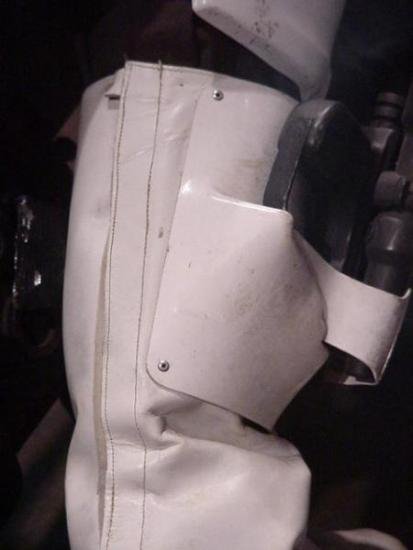
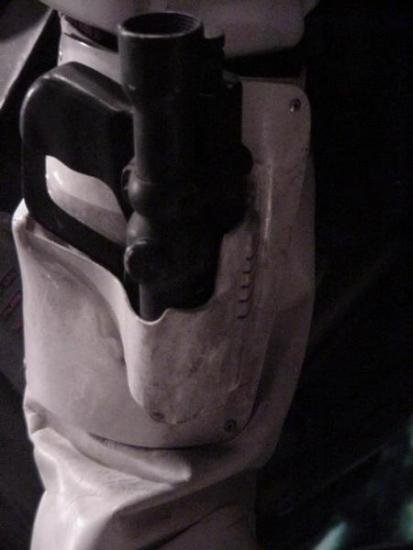
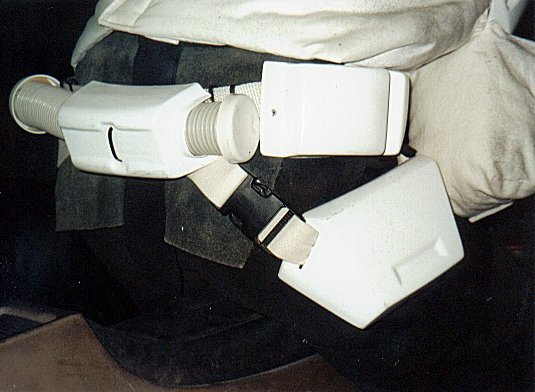
In the film, the pouches were sewn to the bund via the attachment tab. So the rest of the pouch would swing out. For level 2, we ask people to replicate this look. So in other words, if you choose to attach the pouches to your armor, it still must APPEAR like the pouches are attached to the bund by the attachment tabs. Yes you don't sew the entire pouch to the bund. That would be wrong.
-
They aren't lost, they were just taken off the main site when we upgraded to the latest version of IP Board. @Drewid has them backed up and when he has time he's going to dig them out so we can post them on their own page here! In the mean time, Corey's template is great. Don't forget the double stitching, that is a CRL requirement now!
-
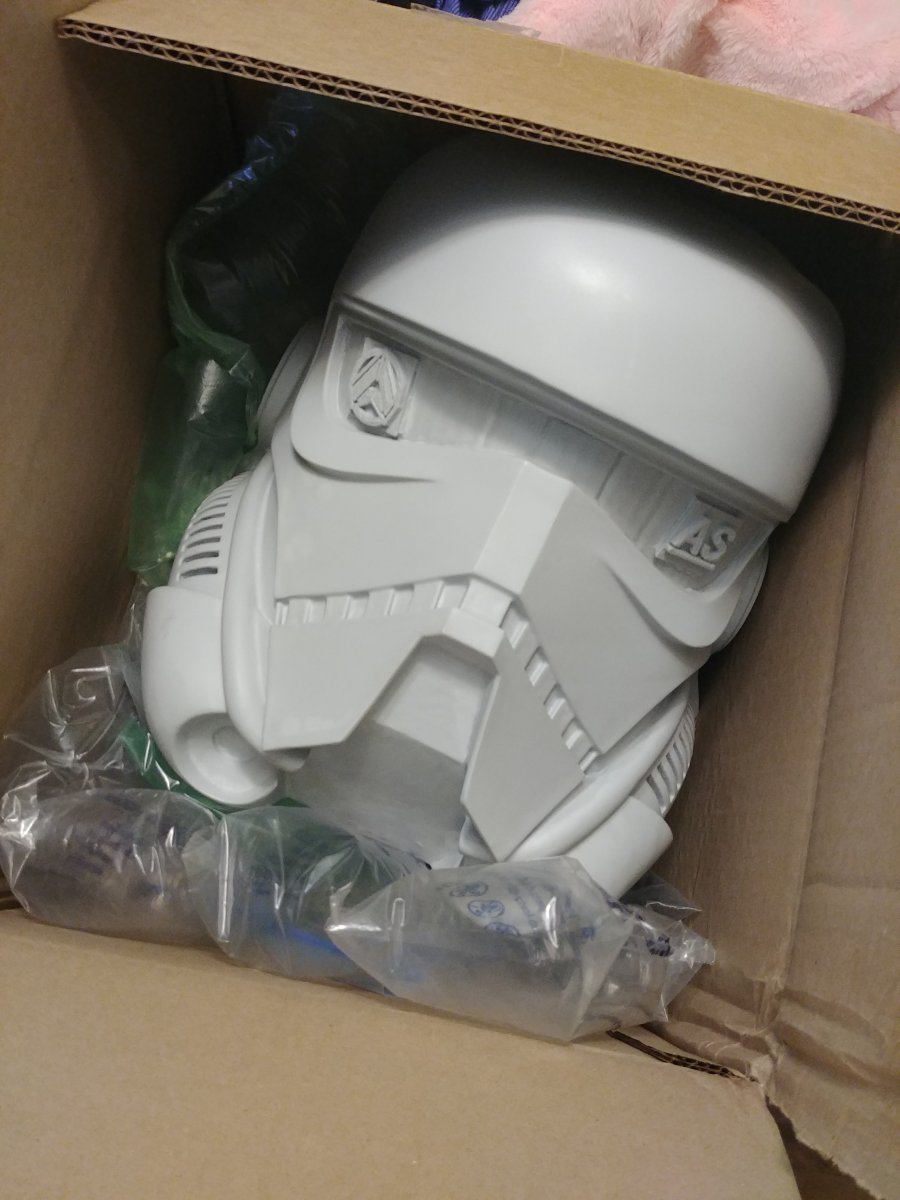
Raw Armory Shop Kit and Helmet Build
BikerScout007 replied to dodger0729's topic in Patrol Trooper WIP
Helmet looks great! I am going to start digging into mine soon. Thanks for doing this 💪 -
It's optional and only for Level 2 so you are fine if you leave yours white.
-
BikerScout007's Patrol Trooper helmet build
BikerScout007 replied to BikerScout007's topic in Patrol Trooper Armor/Helmet
Awesome! Please make sure you make a WIP thread! -
Hi Dawn! I had just implemented Chris' corrections just a few days ago and I believe his next move was to pass it on to the rest of the team for final review?
-
Yeah that should be fine. Just pull it up a bit. Remember you want to wear your belt on your waist, not your hips. And the bund should stop at the belt and maybe tuck into it just a little
-
Bund looks a little tall for my tastes. I can see it's coming down to your hips when it should be coming down to your waist. But the belt will mostly cover it so that should be fine. I wear mine higher up too. Right below my armpits. We recommend a height of between 8-10 inches for the cummerbund. 8 inches makes it tall enough so that the pouch and its attachment tab fit the entire thing evenly.
-
BikerScout007's Patrol Trooper helmet build
BikerScout007 replied to BikerScout007's topic in Patrol Trooper Armor/Helmet
I want to do a full build at some point, but I am up to my eyeballs in Shoretrooper armor right now! Somebody was selling this on one of the Facebook PT build groups for a dream so I snatched it up. -
BikerScout007's Shoretrooper Captain build
BikerScout007 replied to BikerScout007's topic in Shoretrooper WIP
I have my hands full with so many different things that I highly doubt it! -
BikerScout007's Shoretrooper Captain build
BikerScout007 replied to BikerScout007's topic in Shoretrooper WIP
Trim, trim, trim!
-
BikerScout007's Patrol Trooper helmet build
BikerScout007 replied to BikerScout007's topic in Patrol Trooper Armor/Helmet
Denis did a really great job with this kit. There is not much to do with it. Masking off areas to be painted different colors will probably be the hardest part. But yeah, I've got so much trimming to do with my Shore kit it might be a bit before I can get to this! -
Brown box day!

-
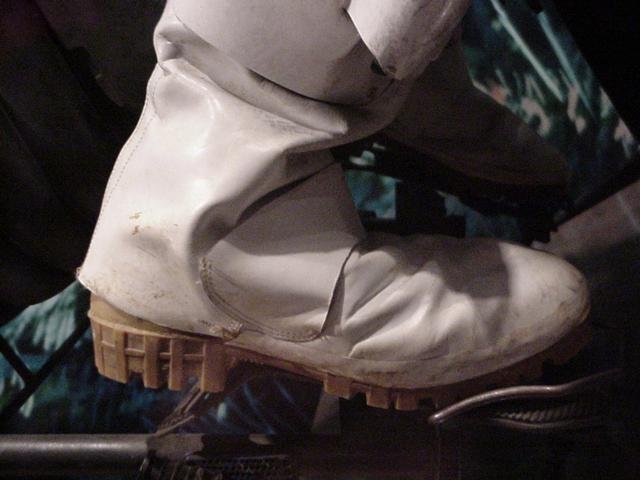
Boot Stitches on “bone” piece
BikerScout007 replied to ScottF's topic in ROTJ Biker Scout Soft Parts
The stitching is getting added to the CRL very soon, just FYI