Retrofire
-
Posts
3,697 -
Joined
-
Last visited
-
Days Won
135
Everything posted by Retrofire
-
Medium gray for the snout and the chest armor indent. I used the Humbrol #5 Admiral Dark Grey for the snout and chest armor indent. You can also use Acrylics too and they are much easier to work with. Use can use Ammo by MiG or Vallejo Model Color or even Tamiya. If you go with Humbrol keep in mind that is an enamel paint so make sure you give it plenty of time to cure before working with the parts after you paint.
-
Yeah so what I would do is use masking tape to tape around the greeblies covering the bicep armor. Apply the green stuff with something disposable and flat like a spare piece of ABS or a thin piece of wood (think tongue depressor) and smooth it level with he rest of the piece. Use some 220 grit and maybe 400 or so to get a nice smooth surface then repaint with some acrylics and seal. Remove the tape and you’re good.
-
Very nice work Mike! Well done! Keep up the great work!
-
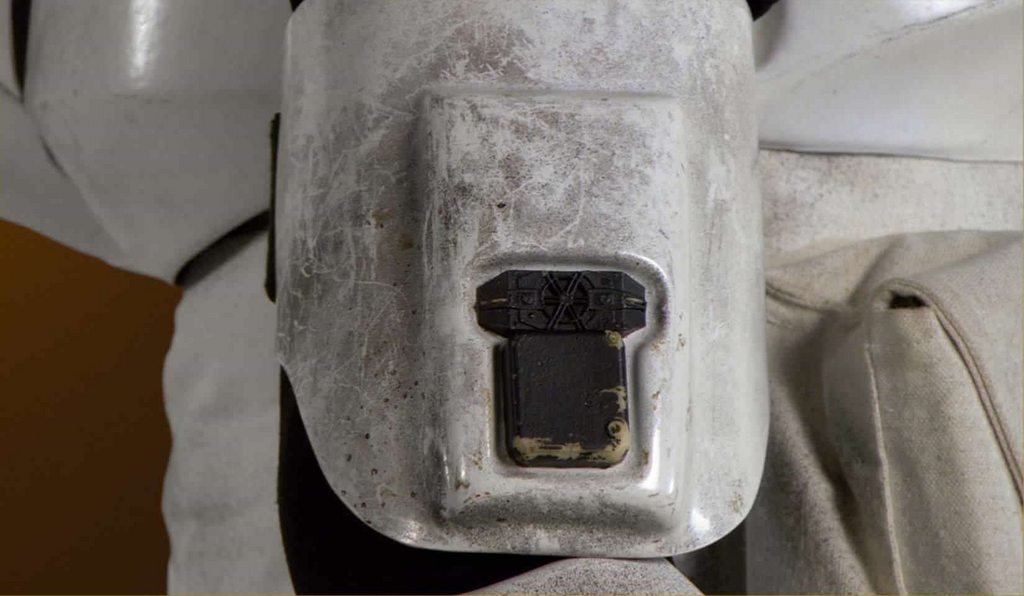
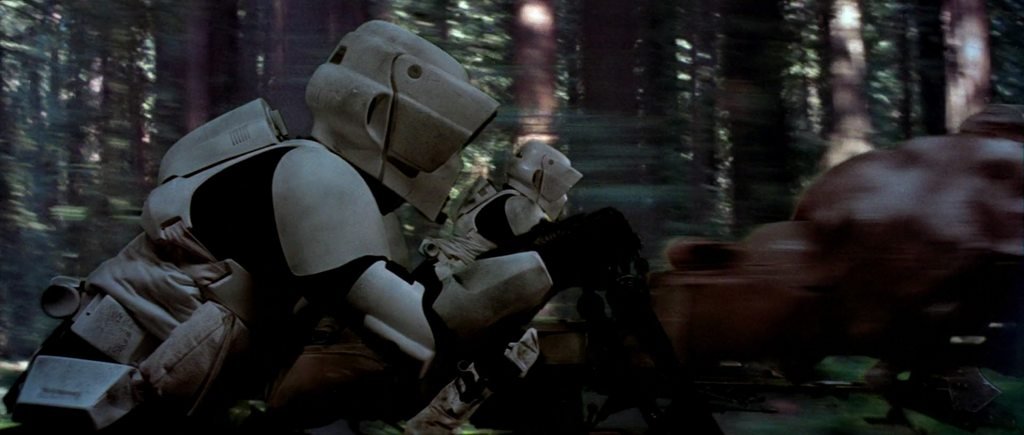
The width of my TD end caps is about 9-10mm so you’ll need to trim those down. Do it in increments as you can always take more off but can’t add it back. The length of the tube varies but looking at your TD box and tube together in the picture I don’t think you’ll have any problems with what you have. Looking at your biceps I did notice that your T-bits are the older style with the ridges in the verticals portion of the greeblie. While acceptable for basic they would not be approvable for Lancer if that is your goal. Talking with @Chopper we think that you could probably mod the box portion by using a file to remove the ridges and then repaint. Another option would be to carefully fill them in using a modeling putty like Squadron Green Putty then sand and paint. Here’s a pic of a screen used T-bit for reference.

-

Da million dollar question....
Retrofire replied to MAD1_TK45001's topic in ROTJ Biker Scout Soft Parts
Mark’s got a good point. You got a ton of folks here that can help you so keep that in mind. I was scared of sewing when I first started but I guess my wife was right and “skill comes by doing..” and now I’m sewing a bunch of different stuff. Keep in mind that a majority of this costume is made up of soft goods so the cost savings is considerable. -
If you go with #1 I would get an X-Acto razor saw from your local hobby store. They have very thin blades and can make short work of removing the snout greeblie. Once you get it removed then you can use some 220 grit sandpaper taped to a flat surface to smooth the backplate. It could be glass or stone. I use a sample of our quartz countertop we got from the installer.
-
Those came out great! Nice work Phil and keep it up!
-
Is this in regards to the pouch tabs and additional seam on the bund closure? Looking at Christina’s build thread there seems to me to be enough screen evidence to reword the pouch reference to remove the “tab” wording and just simply say attached to the bund. For the additional seam on the closure that’s a detail I don’t believe that’s necessary for basic approval. That might be something that the det may address at a lvl2 after the basic CRL has been approved. In either case the DL/XO has the final say on the CRL wording so we’ll want to check with them to be sure. @BikerScout007 and @Dart what are your thoughts?
-
Those lines look pretty good Phil. Your slot sizes should compare to the strapping sizes found in the CRL here: https://databank.501st.com/databank/Costuming:TB_Scout_trooper The forearm strapping size is 25mm and the bicep strapping size is 50mm.
-
Yes. You’ll be more comfortable with a good headband. Some folks do forgo that and use a type of motorcycle helmet padding and build it up custom for their melon. Above all make sure it’s comfortable for you!
-
While that’s an interesting method it’s not recommended. The rigors of trooping, storing, and handling your bucket require a more substantial adhesive. I would recommend that you use E6000 or a plastic weld epoxy along with a good surface putty like bondo or ABS paste. With all the work involved in making your bucket you’re going to want it to be as solid as you can make it. I don’t know of anyone in the detachment that have used that method personally.
-
Congratulations Lancer!
-
I don’t have RS I have SC but the issue is the same so I added some foam padding to the inside of my knees and trimmed the upper 125mm (0.5”) elastic in half then added hook and loop Velcro to both sides to make it adjustable. This way it looks good and it’s not cutting off my circulation. I typically don’t put all my weight on my knee when I bend over as 1.) It’s painful and 2.) I risk cracking the plastic.
-
That looks just fine. Tanks are always a joy to fit to the back armor so you’ve done a great job! The tanks on the ROTJ scout have all sorts of gaps. Keep up the great work!

-
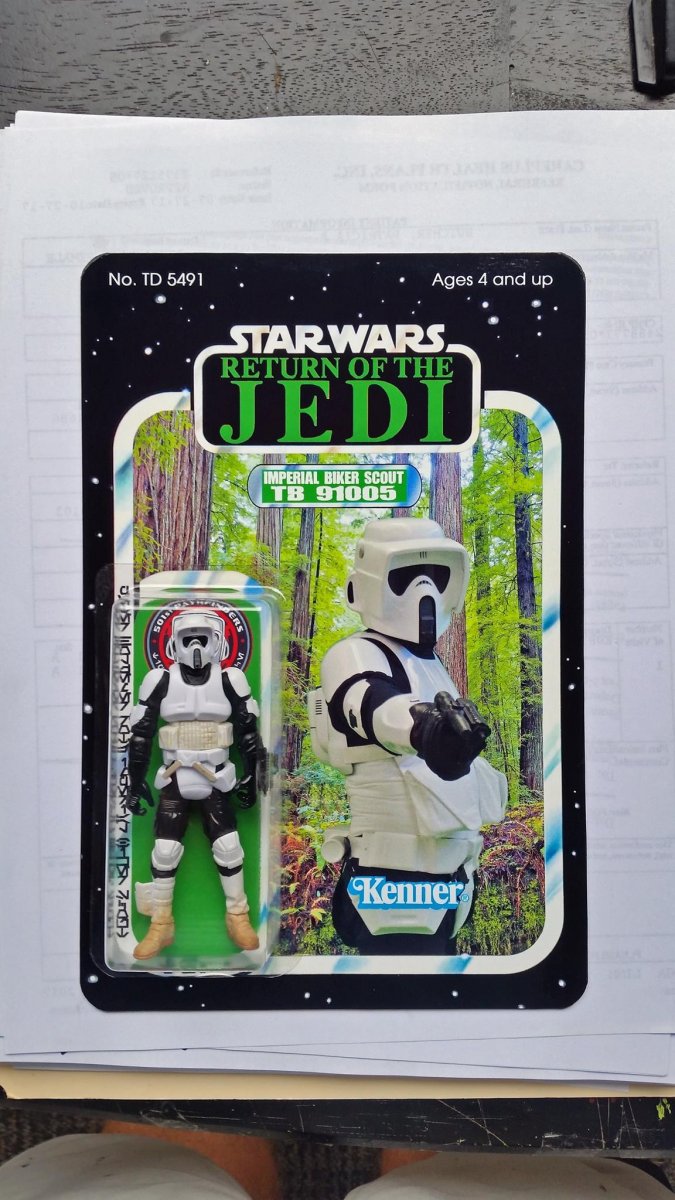
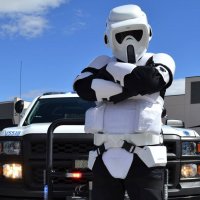
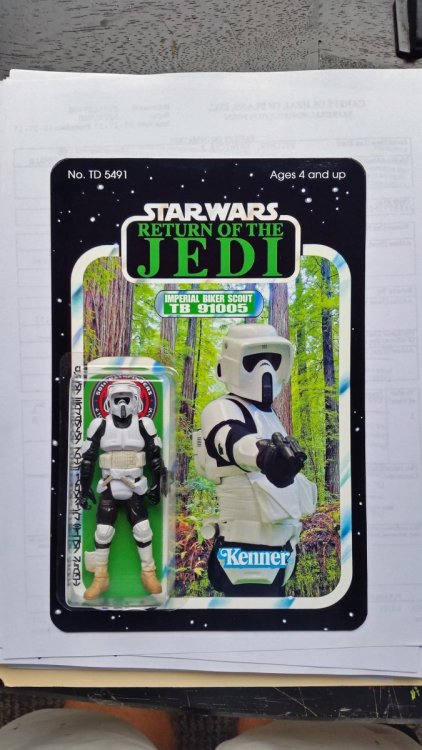
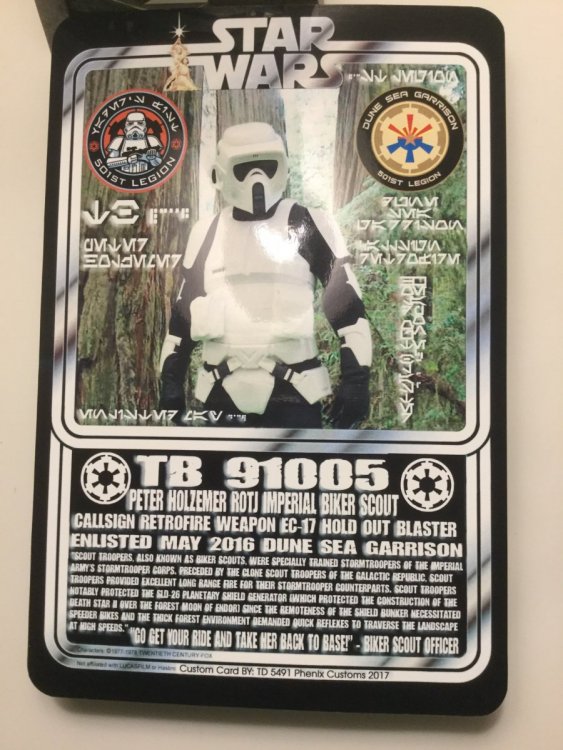
I used to hang out at the Kenner display at the Children’s Palace in PA when I was a kid and wanted ALL of them. I went to a vintage market here in AZ recently and couldn’t believe my eyes when I found a Kenner Scout and Speeder Bike! Immediate purchase! I also had an opportunity to have a custom one made just for me. It’s sits with my vintage Kenner. Your collection is spectacular and all new in box too! That’s amazing!
-
Really well done Christina! Your weathering techniques are outstanding and do justice to the live action version! If you’re in need of any 1.5” off-white webbing for your strapping let me know. I have a roll of it that’s been sitting in my fabric bin forever and needs a home.
-
Yeah there were certainly differences between them but for this CRL we need to have that “broad consensus” to move the draft along or it’ll be a draft forever. We’re four pages into this so please remember to keep going back to the draft on the first page. That gets updated as changes are made. If you feel a draft item needs to be reviewed and changed please pull the relevant section from the draft for reference and include the change so it can be reviewed. The LMO checks in from time to time to review the draft and we must follow the Legion protocol for the creation. Reference Section 8.2 “CRL Development” and 8.4 “New to the Legion Costumes” of the Legion Operations Protocol here: https://databank.501st.com/databank/OperationsProtocol#CRL_Development @mrrikki anything to add?
-
Those pics are a little better. The thigh straps look good they should be at about your finger tips. The mud flap looks to be a little long and wide but it’s better to view when your not dressed since you can see the whole area. The front of the riding patches look good. The pic is a little fuzzy though did you carry the suede through the legs to the rear patches?
-
He’s got a good point. I’d do what he 👆says.
-
I have a Stanley rivet gun and it’s really solid and about $6 cheaper. https://smile.amazon.com/Stanley-MR33C-Medium-Duty-Riveter/dp/B000BPO58W/ref=sr_1_18?dchild=1&keywords=Stanley+rivet+gun&qid=1594132481&s=automotive&sr=1-18 I don’t think you’ll need 100 rivets though a pack of 25-50 should do the trick and you can save a little $$ there. I think this is what Chopper was talking about for backing plates: https://smile.amazon.com/Stanley-Pbs4-Inch-Steel-Plates/dp/B000BPEQ3Q/ref=sr_1_1?dchild=1&keywords=Rivet+backing+plates&qid=1594133208&sr=8-1 You can make backing pieces out of spare ABS strips or use similar diameter washers but these are ready made. For your scissors you don’t need a reamer tool so I’d go with these and that’ll save you about $9: https://smile.amazon.com/dp/B088WVN6M5/ref=sspa_dk_detail_2?psc=1&pd_rd_i=B088WVN6M5&pd_rd_w=F8W2q&pf_rd_p=48d372c1-f7e1-4b8b-9d02-4bd86f5158c5&pd_rd_wg=b8g0p&pf_rd_r=NW2CP1XKGNBC1D0ND7EK&pd_rd_r=6948ece5-d6ee-4189-ab4a-6579713e0246&spLa=ZW5jcnlwdGVkUXVhbGlmaWVyPUEzNlNRN0Y4V1lNMjM4JmVuY3J5cHRlZElkPUEwMDcxOTY2MzdTNVVQMjEyQVJUTSZlbmNyeXB0ZWRBZElkPUEwMjU1ODM4QlVSSDZMUDg4WiZ3aWRnZXROYW1lPXNwX2RldGFpbCZhY3Rpb249Y2xpY2tSZWRpcmVjdCZkb05vdExvZ0NsaWNrPXRydWU= A pack of 220 grit sandpaper is always good to have to smooth down any areas you have to trim.
-
Hey! Where’s your balaclava recruit?! Now to me you’re looking fine for basic minus the balaclava (of course) the stuff I’m giving you is dressing help to make you look marvelous so don’t take it as criticism or feel that you won’t pass basic. Cool? Cool. Rotate the biceps in and move them up a bit. bring your forearms down a bit. Knees need to come up. Yeah your vest sleeves are still a bit too long. You want no more than about an inch past your shoulders with the target around 0.5” Pull your bund up so the tops of the pouches are about at the bottom of your chest armor. Is the bottom of the bund at the top of the belt? In that third photo your right shoulder is “cocking” up and out. Might want to check the connection there. It could be that you need to rotate it back a little to get it to sit right. I can’t see your mud flap and riding patches nor your thigh straps so I can’t comment on those. Keep in mind that if you go for Lancer, and I hope you do, you’ll want pictures in sun or good lighting so the lvl2 review team can make all that out. For your first time dressing you really did an outstanding job Dennis and I can see by the big grin on your face that you’re pretty stoked about it and that’s awesome! That feeling really never goes away so it’s pretty cool and we’re smiling right along with you. I’m sure Chopper will chime in and that’s the guy you want looking at it too. He’s got an incredible eye for detail. When you got everything set and you’re ready post up your submission photos so we can give you a once over before you send them to the Carida GMLs. Outstanding!
-
Did you use a primer? Normal sprays can be reactive against a rubber base without a primer base coat. You also may need to use a rubber compatible paint like Plasti-Dip and I know Rust-O-Leum makes a rubber compatible paint as well. You can also use acrylics.
-
Just make sure your screws are well secured as that connection will get stressed whenever you bend over or kneel down.
-
Wow...just wow! The level of detail you put into the interior is fantastic. Really nice work Brix. Did you make all those greeblies yourself?
-
This ☝️ We’re here to help you be successful Mike so keep asking those questions! @Strider Thanks very much for weighing in on the flight suit. Guys like you are the Jedi Masters of the Scout soft goods!