

ferra
-
Posts
559 -
Joined
-
Last visited
-
Days Won
7
Everything posted by ferra
-

Possible boot option relativley cheap
ferra replied to Nuhaatyc's topic in Kashyyyk Trooper Soft Parts
It´s got the logo pressed in the heel, it probably won´t be accepted. Have you found any Miltec boots? They are not expensive and they already have a great looking arch in the middle(that you can work on with the dremel and get get and even better look). -
Hi! Question time, I got two fabrics today and I need help, let me know if these would be approvable: For the cod piece(take into consideration that I´m going to spray it with Tan Krylon and then use the same paints as in the hard plates for the camo): Without Flash: With Flash: Now the second fabric, it is a kind of velvet in light tan(ish) color, I´m considering it for the patch, what do you say? Pic with flash: Pic without flash: Side by side with the other fabric without flash:
-
Second layer on the bucket, chest and backplate: First layer on a lot of new parts:
-
Started isolating some of the plates/bucket: With Krylon(Fusion) the first coat is also primer so using this is pretty straight forward:
-
It´s looking good bro!
-
Got some more painting done yesterday: I think I found the right stuff to put inside the helmet is soft, but not too much and it can be painted black:
-
I used a hair dryer to do the same to my boot plates as they were too wide. I was real careful to avoid issues and urge you to really take your time doing that.
-
Hi, Got the knee pads to fill in the shoulder armor and look more buff: Also gave the first coat of black on the inside of some parts + some greebs(looks lighter than it is because of the flash):
-
Yeah, check some of the DYI here and most of the guys will have used Tan boots(combat boots or otherwise)..
-
I may have to extend a little, but I really need to check it again later...
-
Hi! Another update from my "secret underground lair": Got the boot plates adjusting just the way I wanted: Got some more work done on my Buy'Ce next up is painting black on the inside and the first layer of Tan on the outside: Begun joining the chest and back plates: ...but ran out of glue... Also, it seems I may have cut too much the side of the front plat, easily corrected if it turns out to be true, but time consuming...
-
They have to be there!!! So trimm carefully, ok? This is a pic of mine:
-
It´s not to be shaved/cut off. It´s not in the CRL anymore.
-
So your game plan is to make the helmet open like some of the Scout Trooper versions? Thats a great idea! Post up your projects as you go please as I my want to do this in the future. Cheers!
-
Thanks bro I´m loving every moment of the build! Question time: So, when walking the tip of the boot armor plate moves, and I want it to give a little (but not much) and return to the appropriate position when I stop moving. I´m think rare earth magnets. Will they stay glued to the boot if I use Epoxy glue? Nural or something strong like that?
-
Didn't feel like going down to the garage/man cave today so I just made a mess of my study... Filled up the pouches with foam(used high density upholstery foam leftovers from work) here is a final result while test fitting on the cummerbund. (i'm so small i have to cram the pouches together) Question time: 1 - The lower part of the cummerbund seems too small to fully sew on the belt, think it wil hold up well with just the top part attached? 2 - Think that some spray from black krylon will work to make the recesses black in the belt? Or will another type of paint have to do? If so, which type?
-
I'm still not finished with those, as soon as I get the back of the armor done I´m gonna test fit everything(still need to trim the front and back plates and put snaps), including the boot plates. If I´m happy with the final results then I´ll start the paintjob, and of course I´ll be posting everyhting here for the next generation of clones
-
Some more work done today! Its tiresome but it has to be done, and when finished I´ll be starting to see the light at the end of the tunnel IMO:
-
Forgot to add that the boot plates are too wide(not to mention overall too big) for us small hobbits from Europe :dt: so after trimming considerably I still had to bend it with the help of a heat source in order to make it fit the boot better:
-
So, another day another update(please let me hear your thoughts on this controversial part of the build): In it´s original state: With a snap: Modded boot and first test fit:
-
Some more work done, started on the elastic straps for the knee and elbow pads: But what really made smile was getting the reinforcement of the back armor/tank(next step is to smooth it out):
-
...good points. Perhaps a cloth slightly "wet" with nivea cream? (...used to work for army boots)
-
Yah its real leather, but its a little stiff, anyone know how to make the leather more malleable?
-
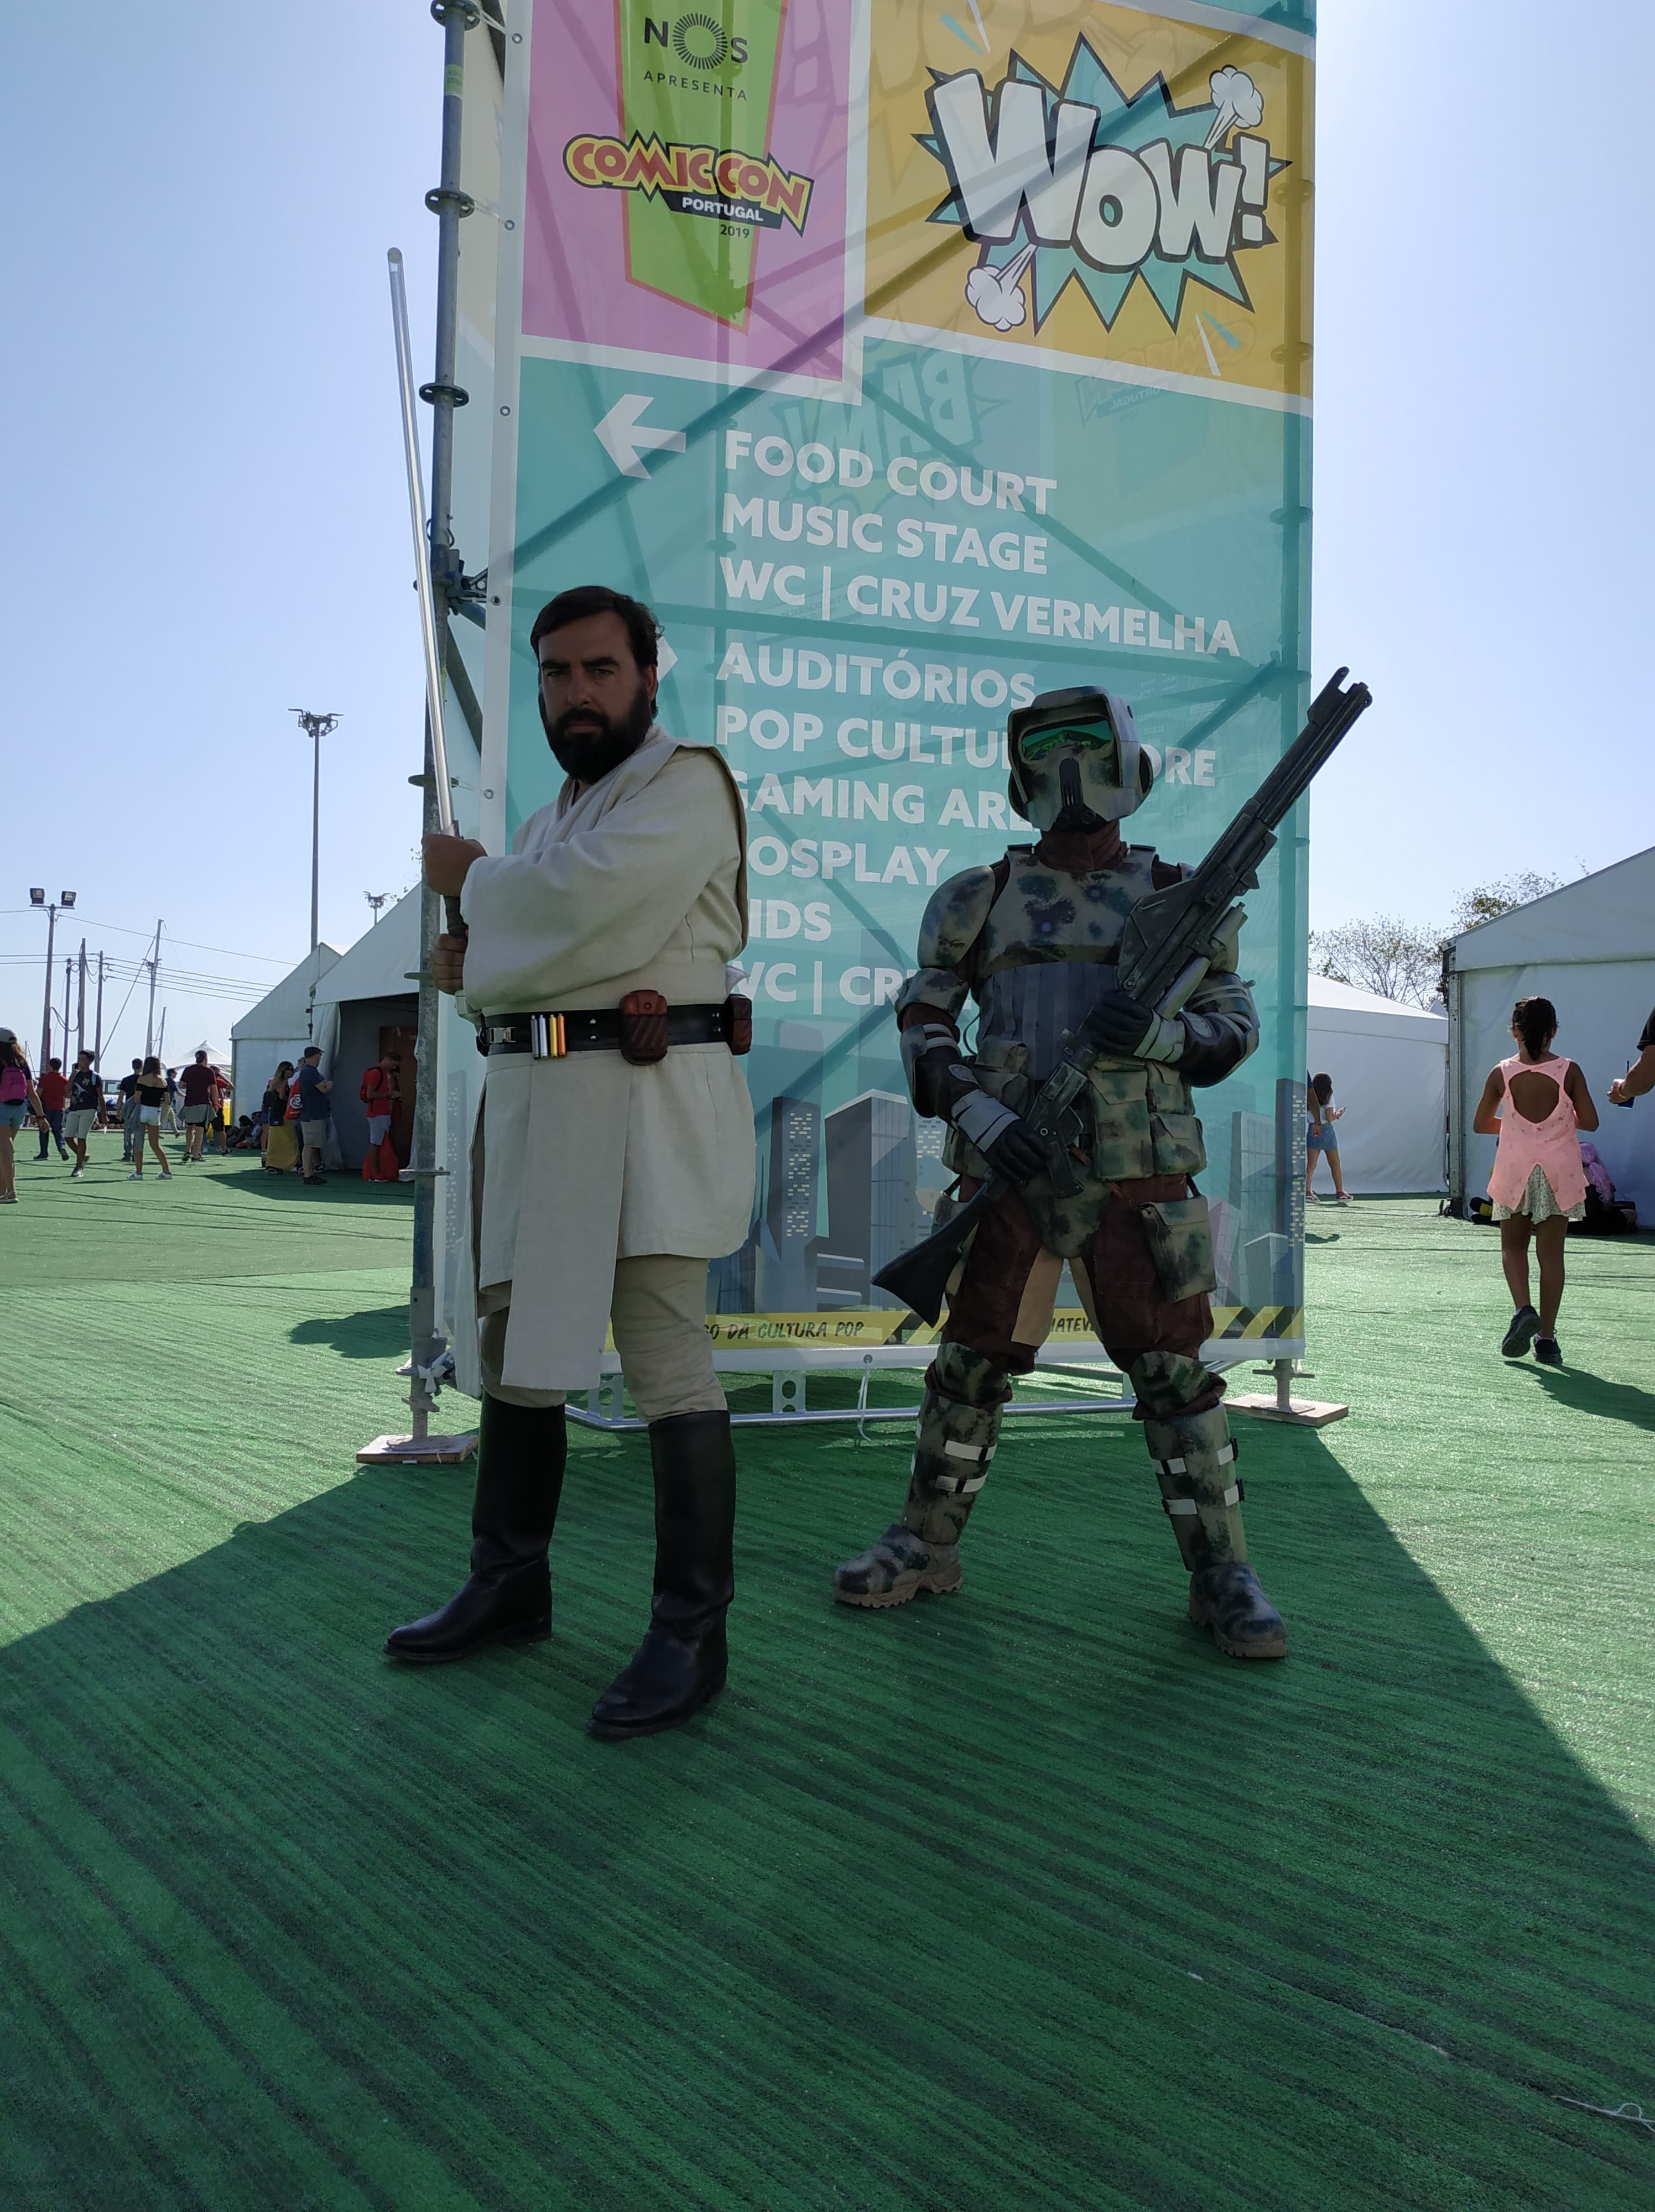
I hope to get something similar to the bucket on the left:
-
I´m gonna go with Games Workshop´s Citadel Paints for Green and Brown (Castellan Green and Baneblade Brown) over a base of Krylon Tan, If I can find it I´ll also apply Tamyia Weathering Powder:
