Glory530
-
Posts
48 -
Joined
-
Last visited
-
Days Won
6
Everything posted by Glory530
-
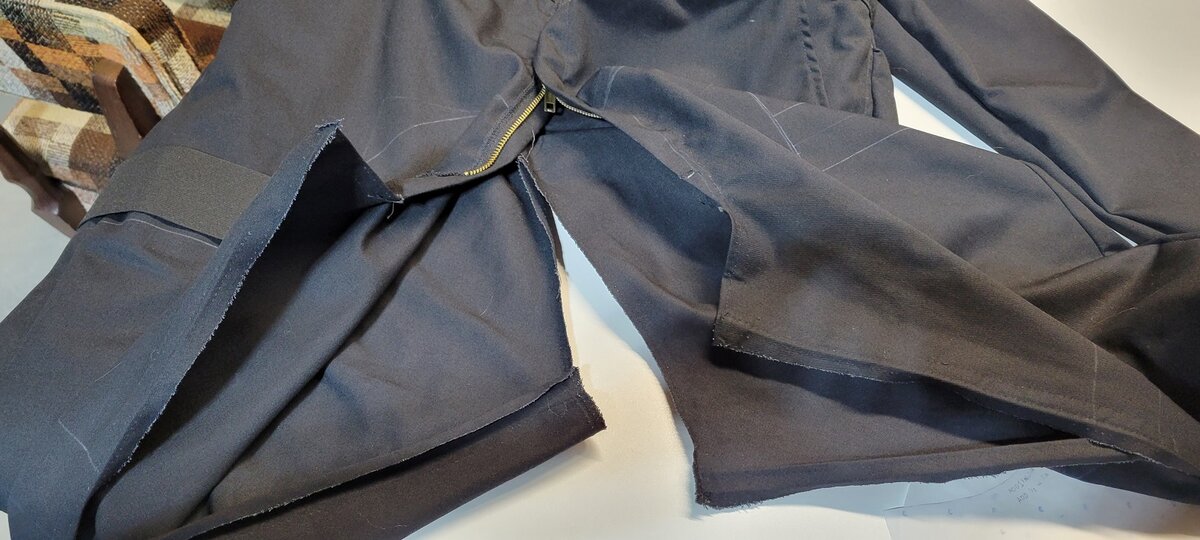
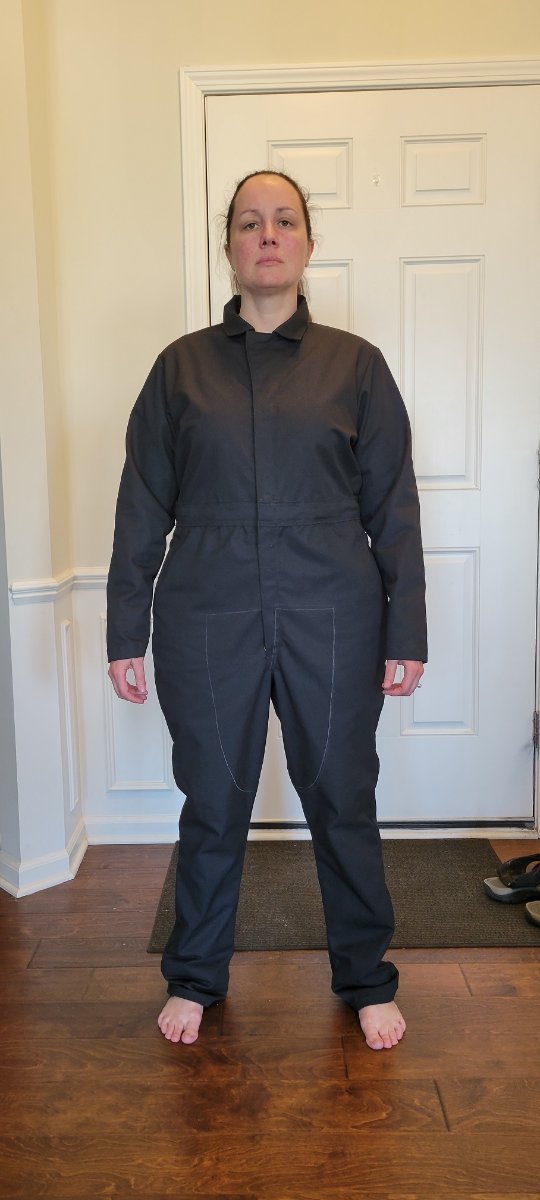
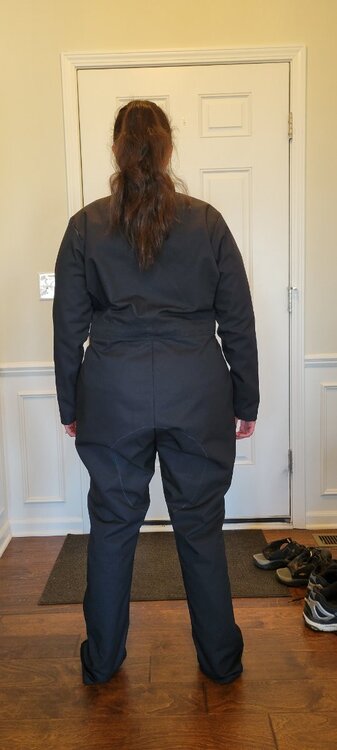
Thank you all for your feedback! I did watch the armor build video last weekend - so many great tips and instructions! I have so much more confidence now going into the armor build part of this project. And now with the helpful pointers above, I've finished my flight suit. Per Chopper's feedback, I rounded off the top corners of the front patches, and thanks to BikeScout007's clarification, I raised the bottom of both patches up so that they end about 2.25 inches above the top of my kneecap. I almost forgot about the elastic straps (I went with 2 inches wide for level 2) - that's why they were not part of my initial photos. Good thing I remembered before sewing on the suede. Per the supplied reference photo, I positioned the straps so that the vertical center is at the halfway point between the bottom of where my belt is going to sit and my knee. In preparation for attaching the suede patches, I seam ripped the inseam, butt seam, and the front seam between the zipper and the inseam. Then I sewed the elastic ends under where the suede will go and pinned it in place just outside the patch area so it wouldn't move on me. I made the strap length so that when the suit is worn, the straps would sit against my leg just tight enough so that there is no slack. On to the suede - I'm so lucky to have the only Tandy in Michigan less than a half hour from my house. I bought a pigskin soft suede split (in black, of course). With the patterns efficiently placed, I had enough for all of the thigh patches and plenty of extra for the butt flap (which will come later, after I build my belt). Instead of just sewing on the patches and hoping they didn't move (the suede is to too thick for pins), I opted to follow what f3tt4l1f3 did in his incredibly helpful photo-filled tutorial within the undersuit mods tutorial - Heat n Bond! I used this to stick the patches on the suit so they would stay in place while I sewed them around just inside the perimeter to the suit and seam allowances. Never mind the wet spots, that was just me removing the chalk lines since I didn't need them anymore at this point. The next part was kind of a nightmare. I sewed the seams I ripped back together. The part between the zipper and the inseam in particular! With the added double suede thickness, my sewing machine wasn't particularly happy with me, even with the leather needle, by it trudged on like a champ. Again, not being able to use pins was frustrating, but I have some really great sewing clips that saved the day here. So now, here is the finished suit laying on the bed and with me wearing it. Hopefully it's good since I did the patch preview before sewing! Oh, and I hemmed the pants too, so now they're not too long.

-
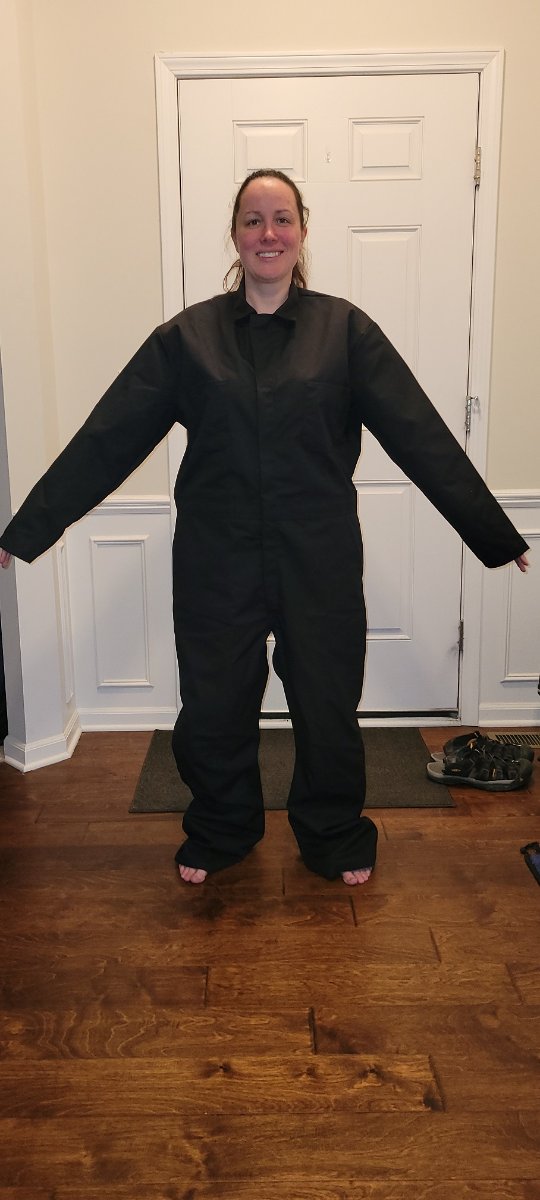
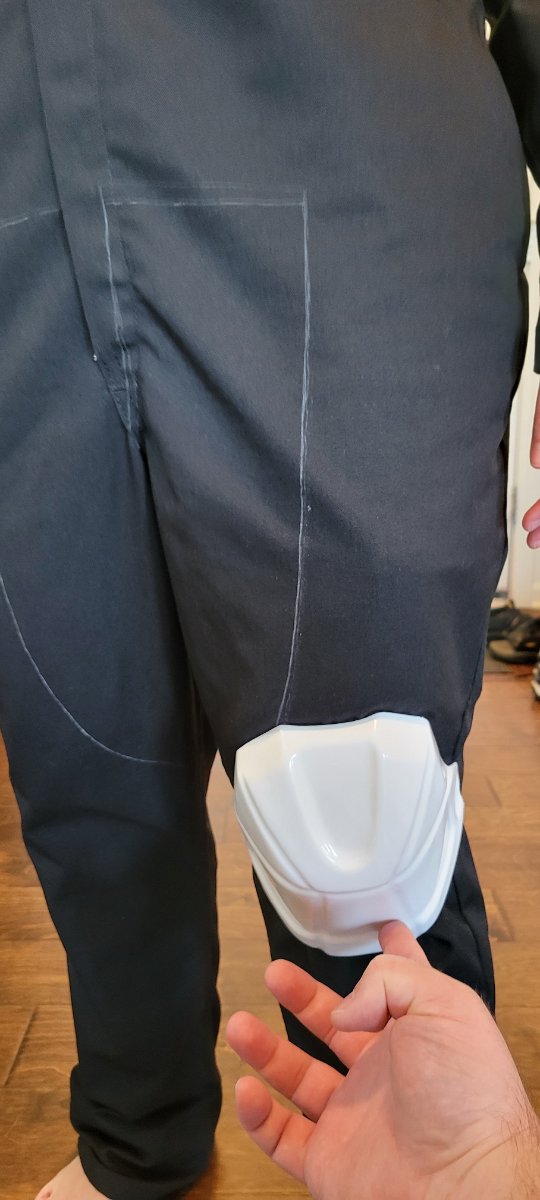
I'm going to start with the flight suit (and then vest) first, so then I can fit the armor over those. I got the Red Kap coveralls in a size large enough to fit my hips, knowing I was going to have to take EVERYTHING else in and significantly shorten the torso. Here's what it looked like before I did the alterations. Needless to say, I have a huge pile of material that was removed! With everything but the inseam taken in or up, the suit fits MUCH better now. You'll notice it's still just a little baggy, and that's because I got it as tight as I could without impeding my ability to move, bend, sit, reach, etc. Also, this is going to be my "warm" costume (no more freezing my butt off in my Officer when it's 15 degrees F outside!), so I fit the suit over my fleece-lined pants and a non-bulky sweatshirt. I'm still going to hem the pants a little shorter, I just haven't done it yet. I am fortunate in that a fellow garrison member who is fairly close to my size leant me her patterns for the suede patches, so I don't have to make those from scratch! I lined them up and traced them on my suit to make sure they will work for me. Here's some pictures with the trace lines. I have one with the knee armor held in place, and it shows that the patches will extend below the top of the knee armor. Hopefully this is OK, and this appears to be the case in the CRL photos as well. I am assuming that the CRL statement "finishing above the knee" in regard to the suede patches is talking about the center of my knee and not the top of the knee armor? Please let me know if the suede patch size/placement is not OK, and I can make some easy pattern modifications before moving forward.


-
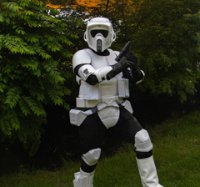
Hello! I'm Gloria, DS/ID-50191 from Great Lakes Garrison in Michigan, and I'm starting a Biker Scout Build. My aim is to go for level 2 approval, so I'll be building to those requirements. I'm only 5'2", kinda curvy, small feet, and have an extremely short torso, so those factors will be adding some challenge, but I'll get there. Armor wise - I've already purchased and received my SC kit and have almost all the soft parts or materials to make them. It helps with my anxiety if I have all the major things I need before I start a project! I'll post photos and descriptions along the way or when I have questions, so I'm hoping you guys can help me out if I get stuck. And if anyone sees anything I did wrong, PLEASE stop me before I get too far. And away we go!