Thax
-
Posts
51 -
Joined
-
Last visited
Everything posted by Thax
-
My wife and our friend both bought a wampawear suit and cut it in half. My wife is very short, though, and had to mod it so heavily that she almost wished she'd done something from scratch. Cutting it in half did help them adjust the torso length, since it was too long on both of them. In the end, the flight suit ended up working for both of them, though.
-
Mainly looking for ideas on fans and padding. Before any of you say "but scouts don't need fans!" know that I live in south Texas and will likely be trooping outdoors in 95F/35C weather with 80%+ humidity and possibly no breeze later this summer. I also sweat a lot. I'd like to consider fan options. Also, padding - I have a WTF helmet and a larger than average head. The tactical padding my wife is using for her bucket lifts the helmet too far off of my head, so I need probably some thin foam up top that is just barely there/super compressible and something on the sides and/or front/back to keep from being a bobblehead. I'd also like this to work with a possible fan solution. Anyway, I figure most of y'all have more experience than my few weeks with this completed build, and figured I'd see what all you've done to the inside of your helmet! Mine is super basic at the moment - no velcro, plasti-dip on the inside surface, and ears cut out.
-
So, I was originally inserting images directly and I bumped up against the limit. Pasting in code for embedding generated by Flickr doesn't seem to work - suggestions?
-
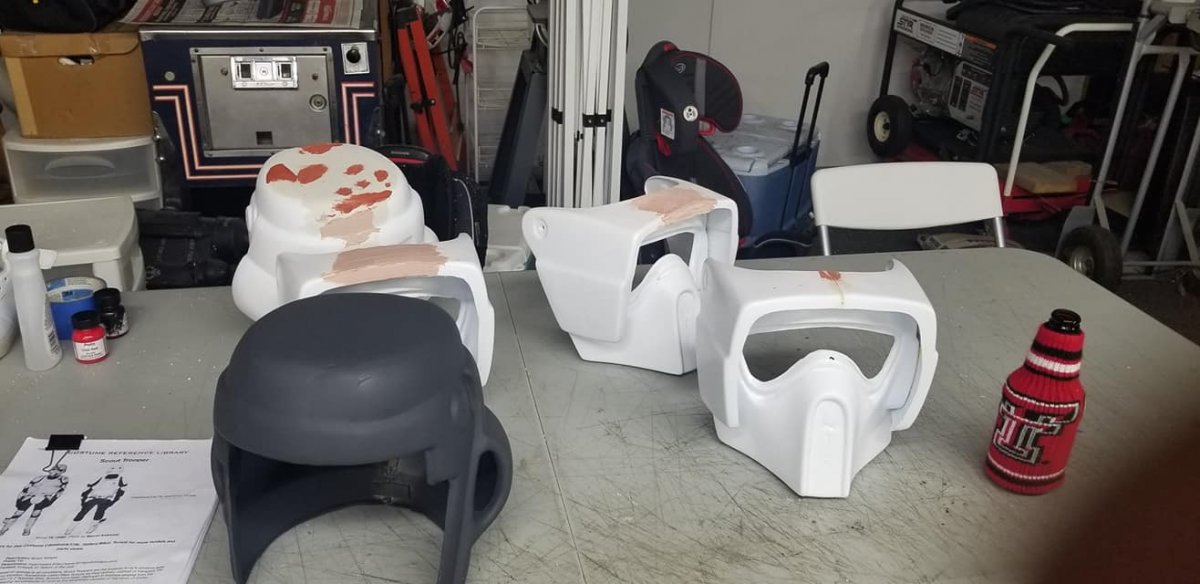
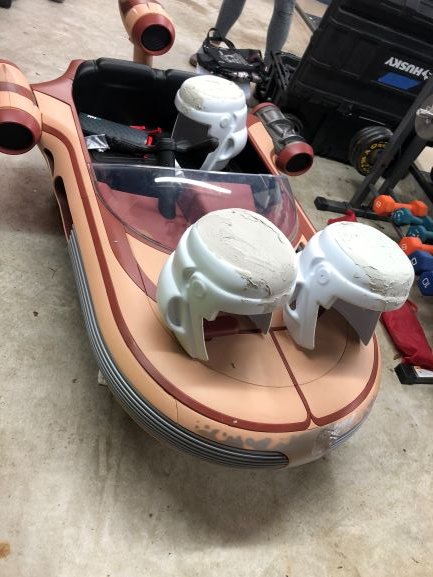
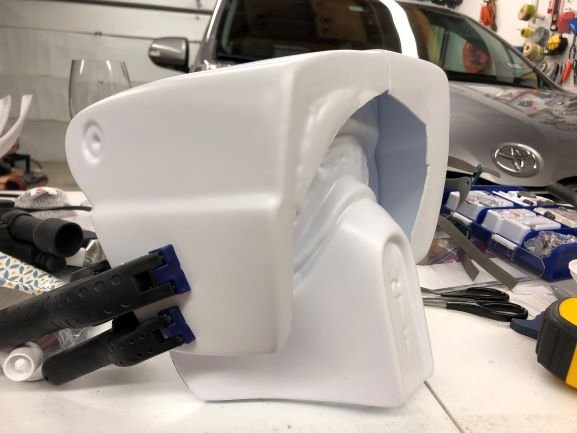
Prior to painting (and honestly, prior to priming, oops!) - fit check your visor/mask combo on your bucket. You probably have more trimming to do! Also attempt to rotate the mask up. I iteratively trimmed the portions impacting mask rotation a whole lot... It can be after priming, but prior to priming I did cut the ears out. I applied a sanding drum on a dremel to the inside of the ear and wore it down from there. After that, I used painters tape to close the hole until I was done priming and painting. We chose to use Plasti Dip on the helmet interior, but there's no reason you can't just spray paint it black. You'll want a good chunk of the interior to be black if you've cut out the ears. We also did this prior to applying the white paint to the exterior. Now, once you've got the priming where you want it, it's time to paint! We used a white spray paint here. Sort of looks like we had a bad run-in with the murder bears... Here are 4 of our helmets, in various primed/painted stages. The upside down bucket with the plastic bag around it just had interior Plasti Dip applied.
-
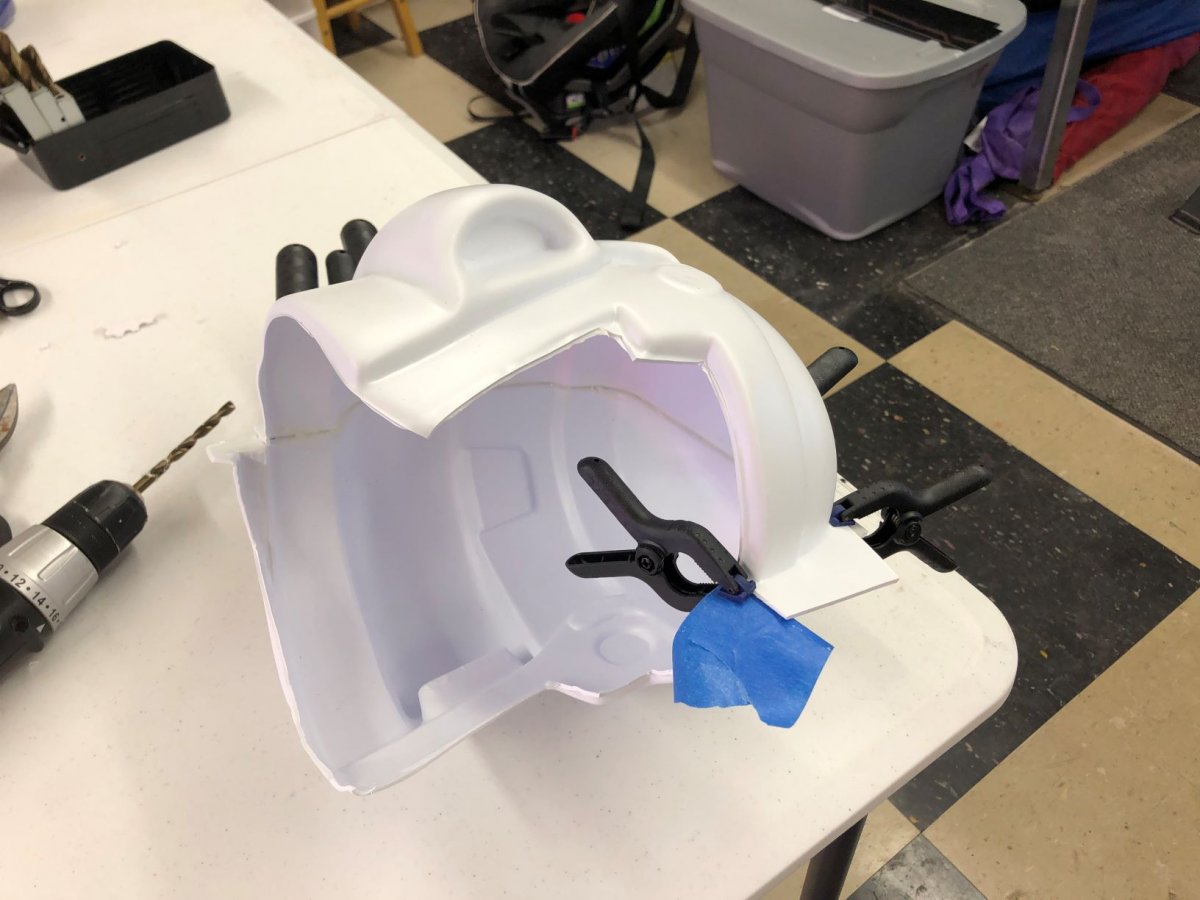
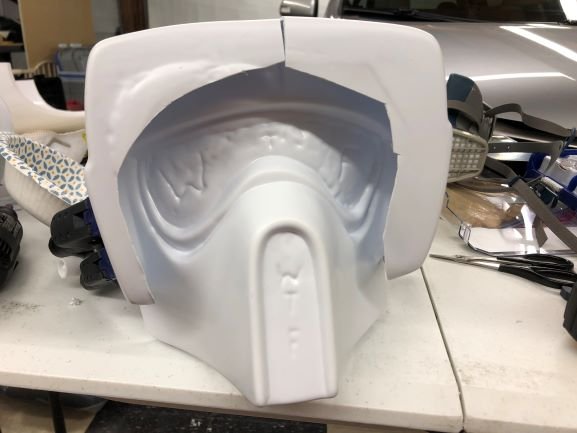
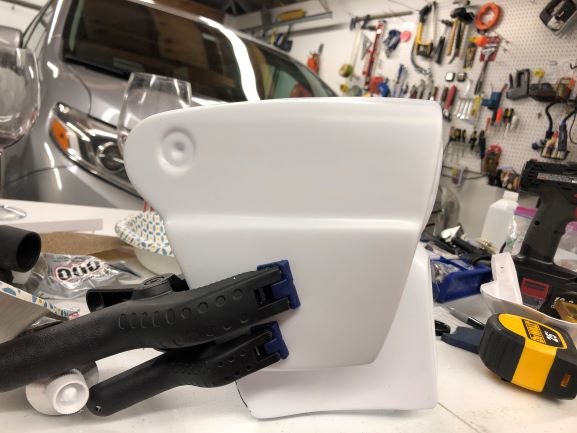
3 helmets drying prior to sanding. The visor is tough. This has big mohawk-like ends on it like the bucket, but you need to chop them off. Plus a whole bunch of the rest of it. Cut each side down to about 3.5" (I left a little more in case my angle was bad). Before applying any sort of glue, you'll want to do a couple of thigs: 1) Trim as much as you can on the sides of the bask and visor/bonnet near the places they intersect. I didn't take great in-progress pictures here, but basically anything that impacts how the pieces sit on each other and anything that would be difficult to access beyond assembly should be trimmed. (I left most of the front alone so I could trim it post-gluing to better match the sides). 2) Test fit and clamp before you touch any glue. You'll need to do this to refine how your visor is cut. Here you can make your cuts to better align the two sides, but make sure you look at the helmet from the side to check angle relative to the snout, and from the top to make sure it's not bowing in or out weird. Additionally, there are molded lines on the inside of the sides and the face mask that should align that can help you (I didn't get pics of those). Pre-glue - with clamps on the side and the front face of the visor untrimmed. After my test fit, I trimmed the lower portion of this more, because I didn't want to risk damaging the face mask later. Check your snout angle. It can slide around on you. I did go back and trim the eyes before gluing, because I was afraid of hitting the visor when I did so. Once you've glued it all, you'll need more Bondo to cover the seam. After you do a good amount of sanding, you may need some gap filler to fill voids in the Bondo for the bucket and the visor. Thus, the red spots in the next pic... Once everything is good, you'll need to prime it (the grey bucket above). This will highlight every freaking imperfection of what you just did. If there are still pits and edges, sand some more, apply gap filler, sand some more, and re-prime.

-
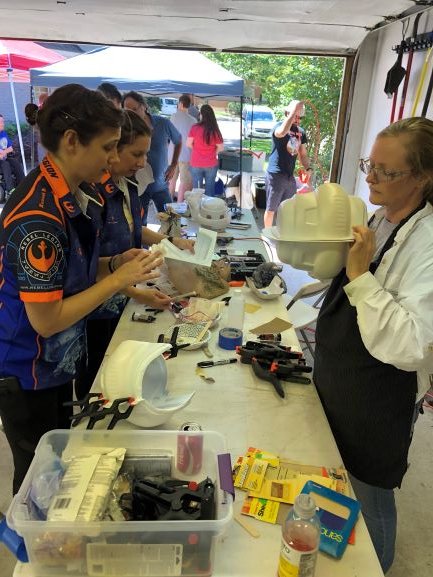
I figured I'd post some of my build work for my Walt's Trooper Factor biker scout helmet, since I finally got it to approval. I didn't take tons of pictures, because I didn't think about documenting it until later. This helmet is a good amount of work. The bucket comes in 2 pieces, the visor comes in 2 pieces, then the face mask is a 5th piece. That's not counting eye glass, greeblies, etc. You may want to immediately start trimming everything. DON'T! You need the mohawk left on the bucket to glue and clamp the 2 sides together: We used Devcon plastic weld. We clamped the hell out of it and then let it dry overnight. Several of us were working on these together. Working as a team did lots to help us address challenges as they came up. Once this is done, cut off the mohawk. You'll have a seam left, and how bad that is/how wonky your two parts mate will vary by your individual helmet and how you aligned it. Sometimes the two halves just don't align well. Our solution - Bondo. But prior to fixing that, we applied a fiberglass strip to the interior with Devcon, as well as some ABS strips to help reinforce the seam on the inside. So, Bondo - I had to do it a few times because it didn't mix well the first time, so I had peeling and chipping problems. I think my helmet went through 3 rounds of completely doing/redoing Bondo. Apply, allow to dry, and sand. Repeat until lines are smooth. Pics in next post...