Zugor
-
Posts
72 -
Joined
-
Last visited
Everything posted by Zugor
-
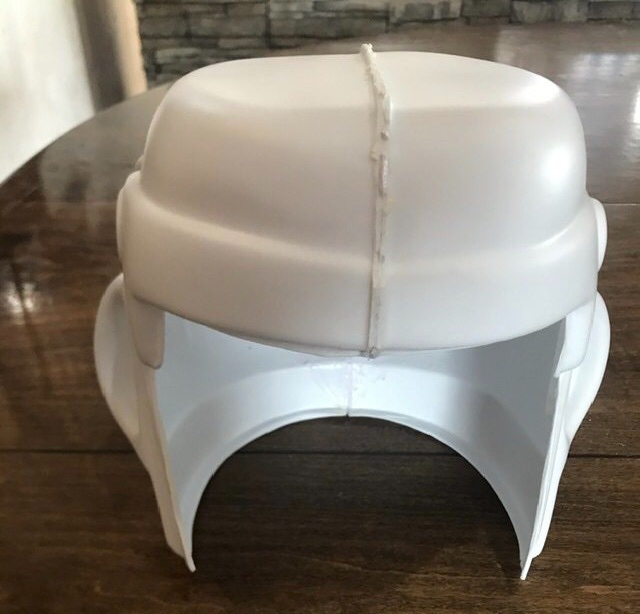
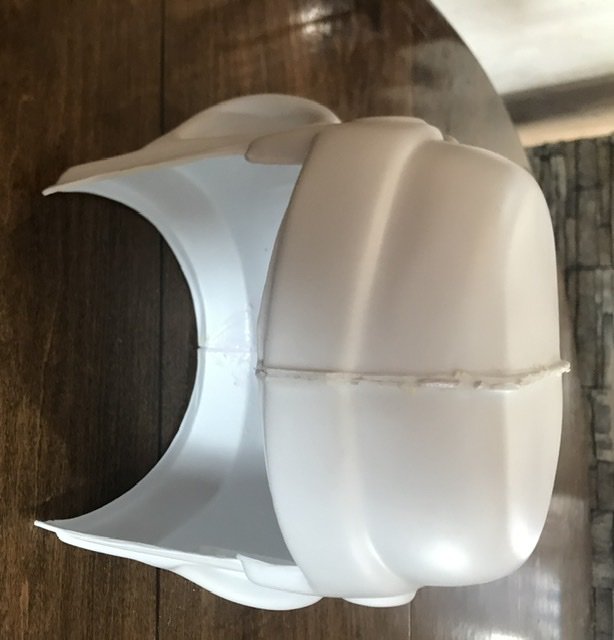
I have been working in my helmet. I glued the dome halves together and sanded the ridge down. I don’t have any pics of the sanded dome prior to putting the bondo on tho.
-
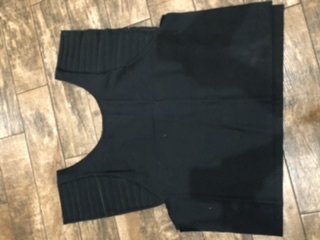
Ok, I need some advice. I am trying to make the flak vest and used a XXL tee shirt as a template. I normally wear an XL so I figured it would be good to go over my coveralls. Boy was I wrong, in my infinite wisdom I did not try the XXL tee shirt on first. Now I have the beginnings of a huge vest. Is it ok to have a seam in the front? I need to take this thing in about 4 inches in the front. The back has the hook and loop closure so taking it in there should be ok, it’s the front I am worried about.
-
Thank you! I needed a success after the trouble with these pouches. I also decided to start work on the helmet. It’s a WTF I picked up a while back that needs some parts. I have a call into Walt for the parts it needs.
-
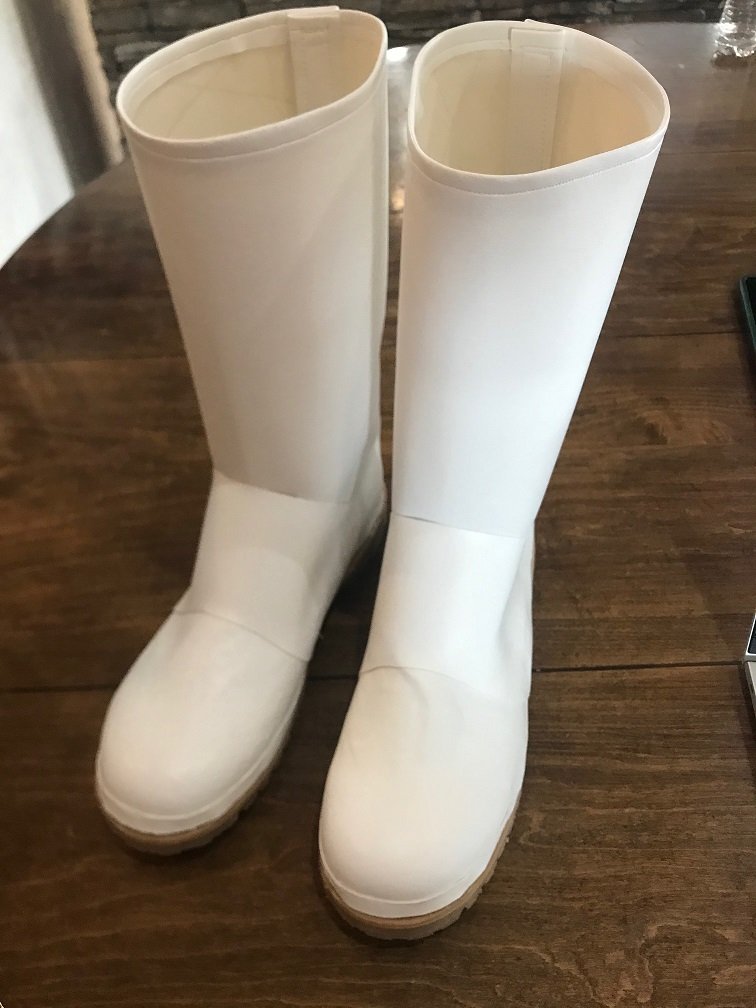
I took a break from the pouches and made my boots.

-
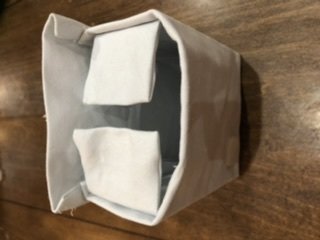
I put velcro patches on the front and back to hold the flap and the box to the cummerbund so I need to cut them off and redo them. Its ok, its all a learning experience anyway. The last two pouches should turn out pretty good.
-
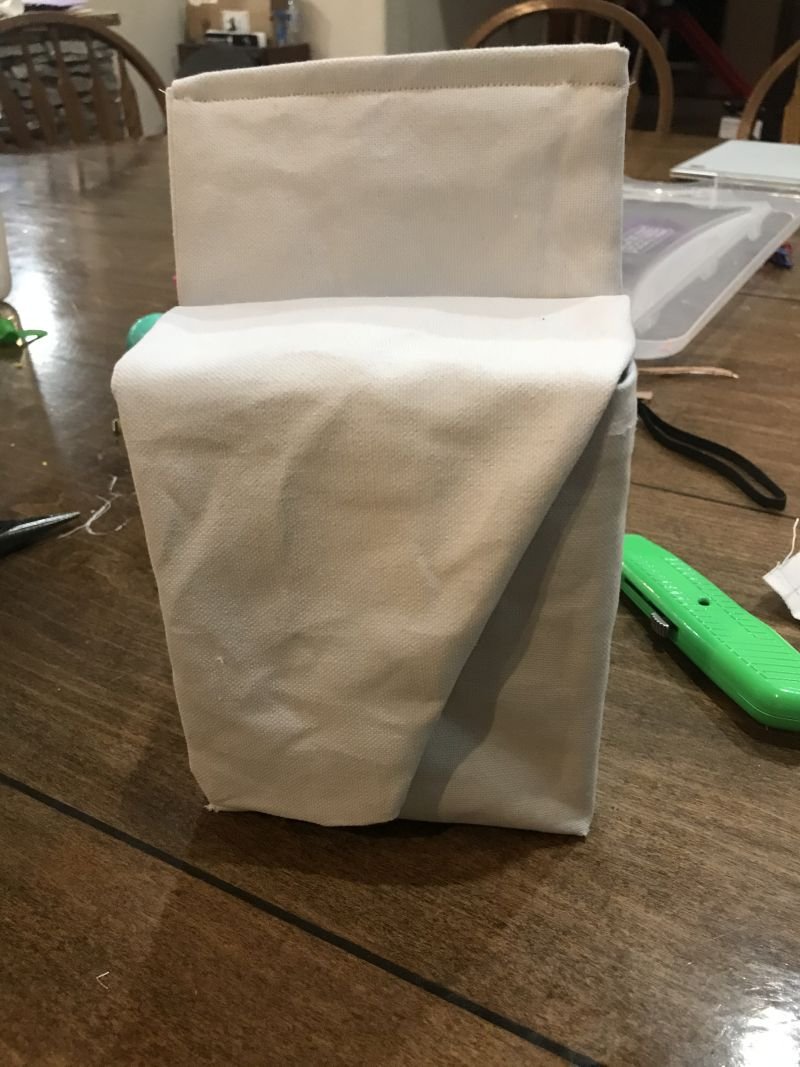
Well, I am glad you said something! I never realized I had the box backwards. I thought the seams were supposed to be to the back and now that I look at the pattern it clearly says the single panel goes in the front putting the seams in the front. Sigh...guess I am taking that box back apart. Good to know now tho before I put the other boxes together.
-
I am planning to use the non-compressable foam from Lowes or Home Depot, usually pink or blue. just get the 2 inch thick stuff and cut it to size. Its also easy to cut a place for your Aker Amp to put it in your pouch.
-
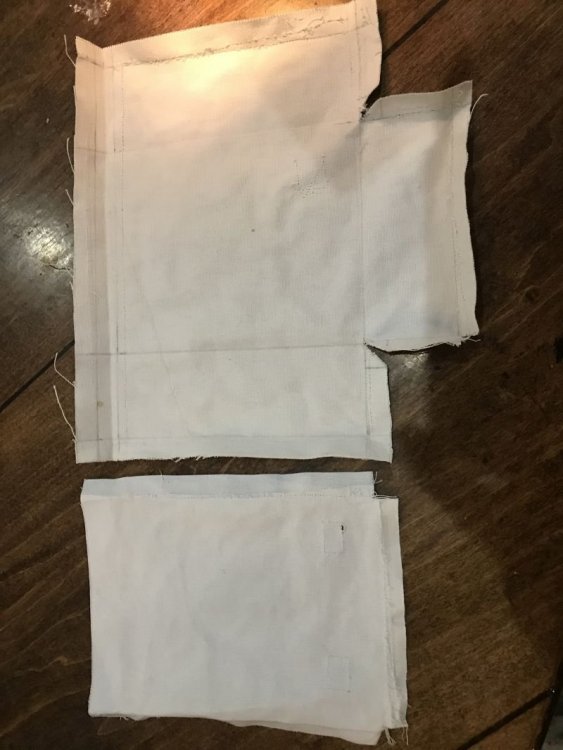
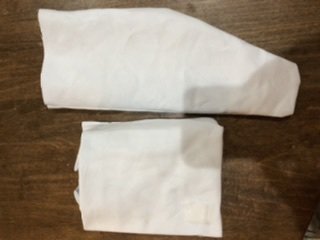
Let me tell you I made a ton of mistakes building these pouches and I am not finished. First, I thought I would make my pouches with a double layer of canvas. Figured I would make them durable. After breaking 4 needles and countless attempts to get the flap sewn on I decided this was a bad idea. While the body of the pouch came out nice there was just too much material to try and sew through at certain points. I ended up ripping the threads out and breaking the fabric of the main body back down to just the flat pieces I had cut out originally. I used some small patches of material behind the velcro patches, which by the way are really good to sew on before you do anything else, I learned that the hard way. Then I resewed the corners, folded the top return edge in and sewed on the flap. I stuck some cardboard inside to make it stand up and look right. I plan to take apart the other pouch I made and redo it so I will end up with 4 pouches when its all done. That way I can pick the best two and use those. I am also of the opinion that I could have added the material for the back to the piece I cut for the front making one continuous piece of fabric and then I would only need to sew one edge instead of two . I think I will experiment with that next time I have the sewing machine out.

-
I see now, thanks for the help!
-
Did you fold the excess to the inside and then put the flap section on?
-
I have been using the pouch templates I found on the site and have gotten to the point where I am not certain what to do. I know I am supposed to fold the flap material and sew it to the back of the pouch towards the top but what do I do with the excess back material towards the top? Or have I not done this right? I have taken these apart a few times to correct errors so I am certain I took a wrong turn somewhere. Any help would be greatly appreciated.
-
The only bad thing about Wampa Wear's gloves is they do not increase in size beyond Large. I have extra large hands so my wife bought me a pair of XL for Christmas but they were too tight. Luckily, I have the benefit of living pretty close to them and tried XL, XXL, and XXXL which all turned out to be the same size glove, a Large. I even layed them on top of one another to prove to myself they were in fact all the same. Wampa Wear was surprised to see this and has been working with their supplier to get the issue resolved, so hopefully they will have proper sizing for us big hand people later this month.
-
I used the Shoe Goo on my son's boots and it worked really well. I have to admit that it looked and smelled a lot like E6000 so its probably the same stuff in a different package.
-
Thank you thank really helps.
-
I have a couple of questions on these pouches. According to the measurements they are a total of 8 inches tall, right? How do they attach and to what? Some posts I have read talk about folding the pouch tabs over the cummerbund and either safety pinned or velcroed. This doesn't make sense to me if the bottom of the pouch is supposed to line up with the bottom of the cummerbund. I would think they are pinned or velcroed to the cummerbund on the face of the cummerbund but every photo I see the chest armor seems to "rest" on the top of the cummerbund but also seems to touch the top of the pouches like the pouch is 8 inches tall and the 2 inch tab folds over the cummerbund like I have seen talked about in other posts. Next question, Are the pouches double layered? Seems like some of the examples I have seen are double layered.
-
Thanks for the encouraging words! I spent time making bags to put the hard armor parts of my TK in. It was a good learning experience but as you can see I still make mistakes.
-
I have been teaching myself to sew by making bags to put my armor pieces in while they are stored in my tote. Now that I am confident I can sew a straight line I decided to tackle making the cummerbund. I figure the cummerbund is the easiest of the items so I will start there. I started by measuring my belly area which came out to 46 inches. I bought white canvas to make all the parts and cut out a section of cloth that is 48 inches by 17 inches. I added half and inch on each end for the area to sew in and have the measurements come out to 8 inches tall and 46 where the velcro will attach. I then sewed together one end and down the long side. At this point I realized how important it is to check your machine before sewing anything. As you can see the thread was not pulled tight by the tensioner and I had to cut all the threads off and redo. Once I fixed that I sewed the batting to the short end and pulled the batting in as I turned the cummerbund inside out. I then drew light pencil lines on the fabric in the center where I wanted the quilting to appear, rolled up one end and fed it through the sewing machine. Once I was finished with the quilting I added the velcro to the ends. Not too bad for my first try. Next time I have some spare time I will build some pouches. Its taken me almost a year to get this far. I did have a screw up while I was making this, it turned out that I needed to add an additional 3 inches to the material length. Meaning I needed to cut out a 50 inch length instead, not sure why that happened but if your making a cummerbund I recommend going a few inches long and you can trim it off if you need. I now have an extra cummerbund that is a bit too small. Oh well, if I loose that weight I have been trying to get off then it will come in handy.
-
I am not sure I understand what you mean when you say the thick Velcro is not as flexible and can show through. Could you please explain? Are you referring to the cod attachment being Velcro or the back connection?
-
Awesome! I will post up pictures when I have some so you guys can keep me from making a mistake.
-
I have the white canvas and batting to go inside. I see the height of the cummerbund is about 8 inches and there are 6 stitches in the front about 1 inch apart centered between the pouches. My questions are how to assemble this. Do you suggest cutting a section of material about 17 inches in height, which is twice the material plus an inch for stitching (1/2 inch for each end)? Then the width would be 43 inches in my case plus 2 inches overlap for the velcro attachment and 1 inch for stiching (again 1/2 inch for each end)? How is the cod piece to be attached, velcro? If so, would I use a 2 inch strip of velcro? I am thinking I would sew around the outter edge on two sides and then flip it inside out and put the batting in and sew up the last edge. Never having sewn anything before I am practicing on making bags for my TK armor out of old sheets before I try this. Looks simple enough.
-
Even better, Thanks!
-
There are some helmet options on thingiverse.com too, not sure how accurate they are. Here is one of them: https://www.thingiverse.com/thing:2551799
-
I have checked the vendors area and the for sale threads but I am not finding anything, maybe I missed them. Anyway, does anyone have suggestions on where to get a flight suit? I found this one on tacticalgear.com but I am not sure if there are specific details that we are looking for or to avoid. https://tacticalgear.com/tru-spec-poly-cotton-twill-27-p-flight-suits-black?hp=y&gclid=CjwKCAjw5ZPcBRBkEiwA-avvk77gDBy0Mb_j17Gqz1kJoDQDROtgdc2_T6erfFCjJa39tHMIP9YOFhoCuRYQAvD_BwE#/7211/2540,653/1
-
I downloaded MrPoopie's files. I am planning to make a kit for myself and replacement parts for my wife's older Kropserkel kit. Thanks Justin!
- 15 replies
-
- 2
-

-
- armour
- biker scout
- (and 1 more)
-
Before you commission someone check your local library. The library here has 3D printers available for use and all you have to pay for is the material you use. I have printed parts there and had the staff prints parts for me at a very low cost.
- 15 replies
-
- 1
-
-
- armour
- biker scout
- (and 1 more)