Zugor
-
Posts
72 -
Joined
-
Last visited
Everything posted by Zugor
-
Thanks guys this info helped a lot!
-
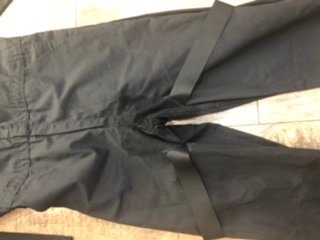
I have a large calf muscle, 17 inches around. When I made my boots to fit the top works but the bottom is too big for the boot, size 14. How do you handle the extra material? Should I make a V shaped stove pipe so it fits at the bottom and the top?
-
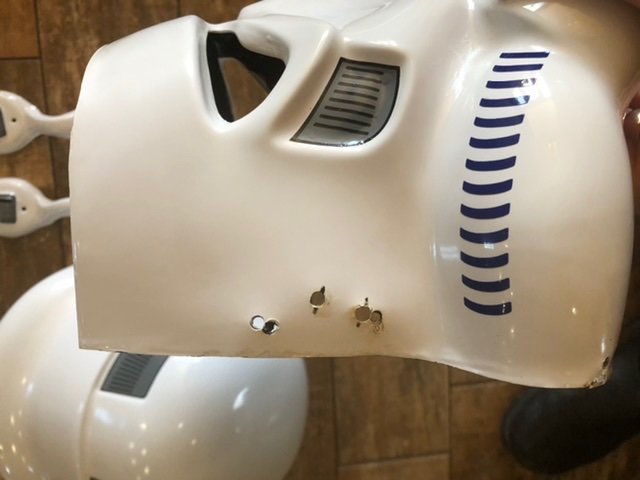
Is there a length on the tubing for the detonator? On this one from the CRL the tubes look to be 4 to 5 inches or close to the length of the body of the TD. However, the CRL doesn't mention any lengths for this part. The hose that came with my SC armor (albeit older kit) are considerably shorter. As seen here. Where can I get this type of tubing so I can get a longer piece? Also the caps that came from SC are convex and not concave, is there a source for those?
- 1 reply
-
- 1
-

-
It's working great for me! I haven't had my armor reyellow yet and I have it out in the sun quite a bit all winter long. I have done it on several helmets, a bunch of armor pieces like my chest plate and back plate. Nothing appears to be weakened either, it's all still flexible like it has always been. My armor is old FX armor that has some updated(newer) parts from other manufacturers so the process works on old and new plastic.
-
Hey is my tank topper too big? I have an older SC kit that I am building and I have forgotten where this tank topper came from but from the pictures I have been looking at it looks to big.
-
There is also a product called adhesion promoter that you spray on after the light sanding mentioned above. That will keep the paint from flaking off. That being said, I tested the hydrogen peroxide method out on new and old armor, old being FX TK armor and there was no damage at all.
-
Feels the same to me. The plastic seems to be just as pliable as it was before. No sign of oxidation either, the plastic is nice and shiny.
-
The crème has a 40 percent hydrogen peroxide content so please be careful and wear rubber gloves when handling it. I made the mistake of not wearing gloves while I was turning the parts and got some on my finger tips. My fingers where turning white and had that stinging feeling within minutes. I ran in and washed my hands quickly.
-
I ordered it through Amazon but I imagine you could find it at any salon type shop. I didn’t think to check with any of the local places and just ordered it.
-
After 6 hours I brought the parts in and washed them with soapy water. And as you can see there isn’t any yellow left on the parts. none of the decals or paint was affected in any way. Hope this is helpful to other troopers out there.
-
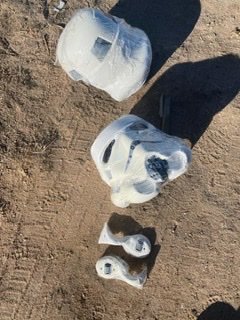
here are the parts in the sun. I left them out there for about 6 hours. I did occasionally turn them to make sure nothing was in a shadow.
-
Not sure if this is the correct location for this type of post but here goes. If your armor has yellowed then I have a cheap and easy solution for you. After much research and watching of videos on the subject and testing the solution. I have found that SalonCare 40 crème safely removes the yellowing from your armor. I bought the 32 ounce bottle but you can get a much smaller bottle as I only used about a half ounce for my helmet. and here is the dome Using rubber gloves and a small paint brush. I slathered a layer of crème over the entire helmet and wrapped it with plastic wrap to prevent the solution from evaporating and laid the parts out in the sun.

-
I think the problem is the 15 inch length with my particular coverall and height just isn't right. I need to put my coveralls on and take some measurements to see what will look right.
-
Yeah I screwed up something. Going to see if I can put a second set over the top of the others maybe that will fix it.
-
After looking at some Lancer requests I think I need to redo the patches and take in the straps. Probably should have looked at those pictures before. Oh well.
-
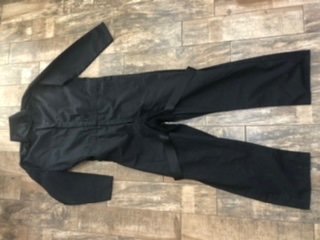
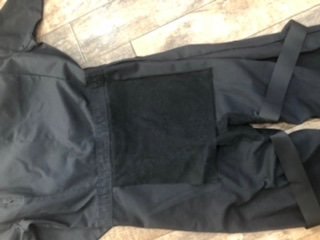
I was able to finish my coveralls. I used Mickey’s measurements for the patches since I am the same height. However, I was looking at the CRL and the patches shown there are much larger and now I am worried so made the patches too small. Anyone have any thoughts?
-
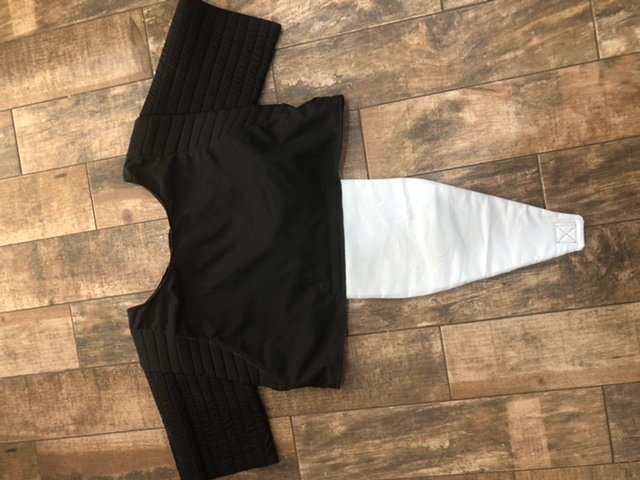
I have finished my flak vest. It’s not great but I think it will work. I learned a lot about sewing a shirt with this one.
-
That's a pretty good idea! I will try it.
-
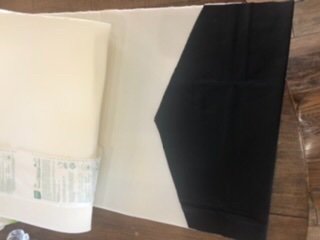
I have finally gotten around to making my flak vest. I cut out the sleeves and used this stuff called Pelton Flex-Foam fusible stabilizer between two layers of black Poly-Cotton fabric I found at Walmart. I think the quilting came out nicely. Now I need to figure out how to attach them to the body of the shirt I cut out of the same fabric. I am not sure if you sew the sleeves together so they are round and them sew to the shirt body or sew them to the body and then complete the sleeve. I haven’t seen to many people make their own vest and post pictures of how they did it. I will have to do some searching tonight and see if I can figure out the process.

-
I did something similar, I used a metal straight edge. I put the straight edge inside the sewn corners and gently pulled down to get the material out. That was with the flap and the little tabs inside, worked well on them. I will try it on the pouch and see if it helps them to look a little better.
-
I followed the pattern on here so they should be the same width as the pouch. I didn't sew them all the way to the end because the needles kept breaking when I tried. I figure they should look right when I add the stuffing to fill them out.
-
Ok, I finally got the courage to circle back and finish the pouches. I have to say I think these are the most difficult thing I have had to make from scratch so far. Trying to keep them from being wonky was not easy. I ended up drawing light pencil lines on the fabric and then lining up the pencil marks and pinning the pieces together and then sewing along the pencil marks to get them to come out as close to straight as I could get. Seems like everything works against you when your trying to make a straight sewing line. What do you guys think?
.jpeg.4ecb27877f7895d1a7a4acad77435ec9.jpeg)
.jpeg.dedca8971ab286e64e2ea7253d6c37f2.jpeg)
-
I see, thank you for the candid response. Hopefully, my GML isn't a nit picky person concerning these points.
-
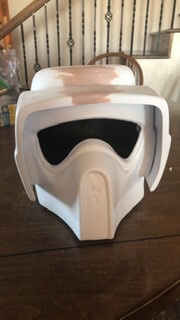
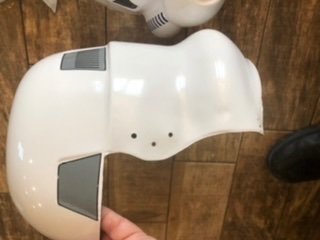
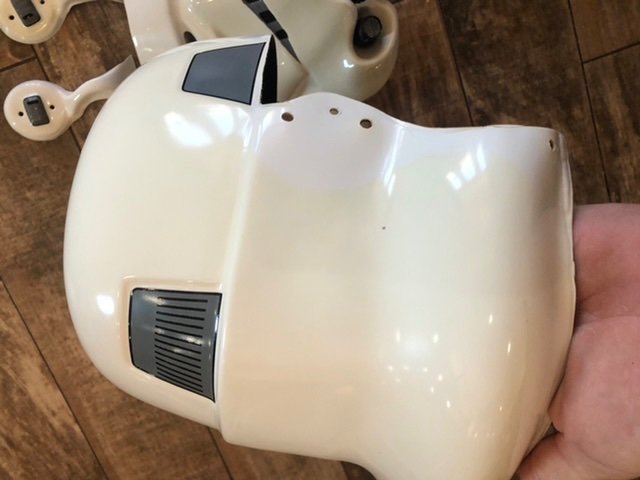
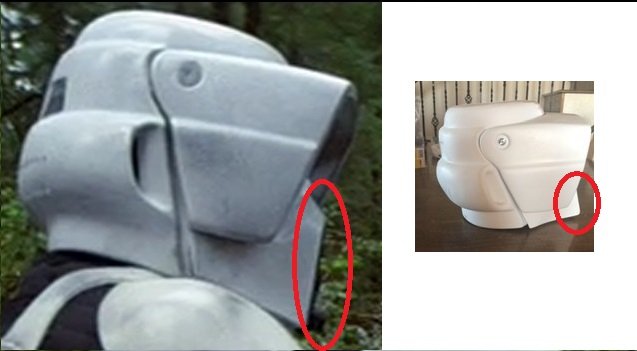
Thank you for the reply. I will try to "tweak" the dome a little and see if that gets the mating surfaces between the dome and face a little closer. The other question I have is the angle of the snout. Your photo shows the snout being nearly a right angle to the visor or straight up and down while the WTF helmet seems to angle outward, please see the photo. Should I take the face plate back out, I used E6000 so it should come apart, to reangle the face plate so that its more like your picture? I have noticed that a number of other helmet makers have snouts that angle out a bit like the WTF so I am not sure if this is a point of contention. Also, now that I am comparing the screen helmet to the WTF I see the snout isnt sticking out past the visor a little like the screen used helmet. I am not sure how I would fix that since the visor has features that I would have to cut off to shorten it enough to bring the face forward enough to make it look right.
-
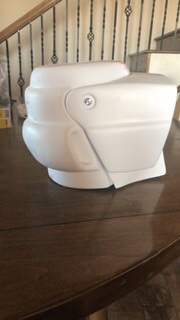
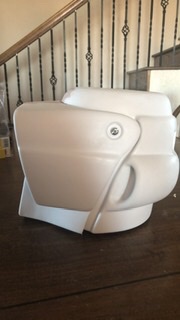
This is the helmet dome with the visor and faceplate assembled and bondoed. I noticed at this point that the bottom of the face plate angles out, you can see it in the left and right side photos. Is that ok? I thought it should be pretty much straight up and down. I also noticed the left side of the faceplate and visor doesn’t exactly match up with the dome. I am not sure if I should heat the face and “tweak” it a little to make it fit or just leave it.