uscstaylor
-
Posts
270 -
Joined
-
Last visited
-
Days Won
6
Everything posted by uscstaylor
-
OK I finished the detonator and added it to the belt. I just have to finish the hip boxes and leg holster and then I will be ready for rough pics for approval. Here's the link for the detonator clips that I got. I found the link in another thread here. http://www.theclip.c...at=0&featured=Y Oh and I finished my Rubies modded helmet. I have to say that putting in about 15-20 full working hours and about 50 bucks in home depot materials really paid off. I love this helmet. This is really a lot of fun to see your progress as you complete this costume. Not to mention that the people hear at BSN are awesome as well. Thanks goes out to all of you for your great responses and input to all of my questions thus far. I cant wait to meet some of you..
-
Go to Lowe's or Home Depot and grab a cheap hard hat for like 6-7 dollars then keep the liner out of it and throw the hat away. it's what I did...here's a pic of the inside. Use e6000 to glue it in place. It fits like a glove!
-
SC armor aka Box o Bikerscout
uscstaylor replied to blholmes's topic in ROTJ Biker Scout Armor/Helmet
Yup what Isaac said. Panda tutorial is key! -
Hey Gang...So how to you tote you costume?
uscstaylor replied to uscstaylor's topic in ROTJ Biker Scout HQ
Well guys These are all great ideas and samples, please keep them coming. I think it's a great way to share how everyone carries their costumes around and keeping them safe at the same time! I have found this tote at Home Depot and I'm going to check it out tomorrow. http://t.homedepot.com/p/Stanley-3-in-1-Rolling-Workshop/203367137/?MERCH=REC-_-tablet_pip1_rr-3-_-NA-_-203367137-_-N&showPLP=false The top looks like it can hold the armor pieces, undersuit, bun. The middle tray can hold extras like elastic, tape, glue, paint, extra tools etc. etc. etc. The bottom can hold the helmet and the boots -
Congrats troop make us prod!
-
Congrats man make us proud Trooper!
-
Hey Gang...So how to you tote you costume?
uscstaylor replied to uscstaylor's topic in ROTJ Biker Scout HQ
This is great stuff hope more people post here, more options the better -
Hey Folks, Now that I have invested a lot of time and money in my suit. I would love to see how you all carry your suits around! I personally would like to have a hard box style container with wheels. Can you all share your pics of how you tote your gear around and maybe where you got it from. Thanks so much!
-
Looking really good my friend but the only thing I can see is your neck is exposed, may need to add a flap to cover it up. Good Job so far!
-
same to you as well, I saw your thread. love that sig too
-
Thanks Kath Im adding the snout this weekend! Its a Rubies modified helmet!
-
SC is in my opinion outstanding, I just received mine a week ago and he did most of the work for you. I highly recommend his armor. Fastest delivery by far and great communication.
-
Here's one more pic of my suit. I'm about 70% done should have this puppy finished by next weekend. Oh yeah that's not me its my dummy...lol
-
Well my Boots and pouches and bun arrived today, All I can say is WOW. Its really magnificent! here's a pic of the boots!
-
Would these boots work for a conversion?
uscstaylor replied to a topic in ROTJ Biker Scout Soft Parts
PM sent -
Pandatrooper's SC Biker Scout build
uscstaylor replied to Pandatrooper's topic in ROTJ Biker Scout Armor/Helmet
Terry just wanted to say thanks for all of the info you put into this thread. It makes putting together the armor so much easier. Quick question. How did you attach the suspenders to the cummerbund and do you like it? -
Honestly I haven't used them yet. I used regular sewing scissors and a modeling razor knife and my trusty dremel, but like Chef said you can never have to many tools..
-
OK good to know thanks Chef!
-
Quick question, Can we use black 1 1/2 Velcro for the shoulder bell on the underside of them. its easier to use that then the white. Its very hard to find sticky White 1 1/2 inch Velcro in the U.S.
-
Good Job man, mine should be ready for pics soon as well. Make us proud! Salute!
-
Here's a tip for hard armor.....
uscstaylor replied to uscstaylor's topic in ROTJ Biker Scout Armor/Helmet
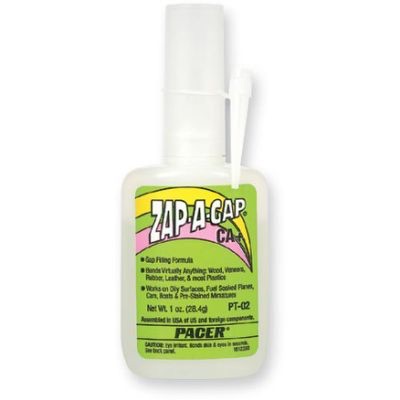
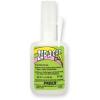
You heard the term a little dab will do ya, that's how I use the zap gap, works like a charm! -
Thanks. I am working on the belt now and decided to add some miliput to the inside of the hip boxes to give them some weight to them. This way it should keep them bouncing around when your walking.
-
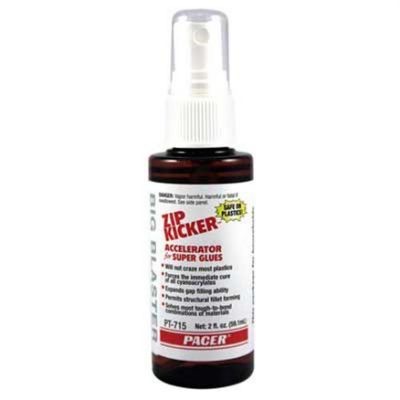
Hey guys here's a clue or I mean tip rather, when you use zap gap with zap kicker it fuses or welds the body armor together permanently. It works great for the belt and for the backpack armor. I hope this helps you guys building armor. I got this tip from one of the storm troopers building his armor. Hers a couple of pics. Below is a link from Trooperbay using the Zap Gap, I love this stuff!
-
Congrats man!
-
Did some more work on my scout today. I cut all the slits in the armor did my shoulder bells and mounted all of the velcro. Tonight I'm gonna make the "T" straps and the top body armor covers for the "T" straps. I'm going to do the belt last. I'm still waiting for my boots and bund and pouches from Marcel to arrive.