justin
-
Posts
12 -
Joined
-
Last visited
Everything posted by justin
-
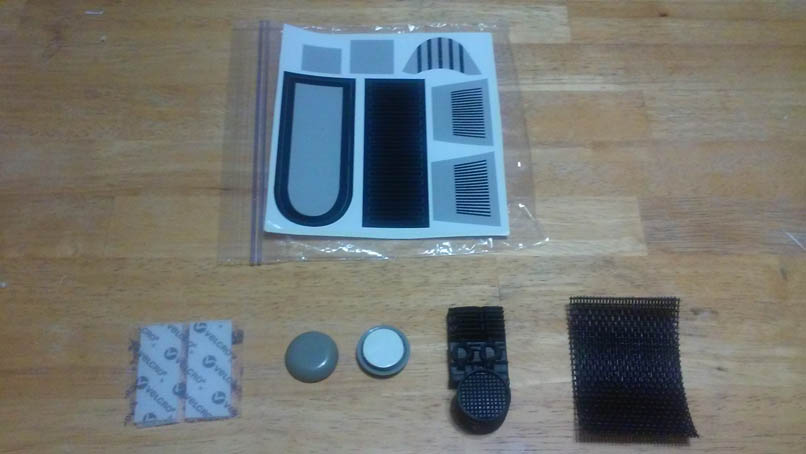
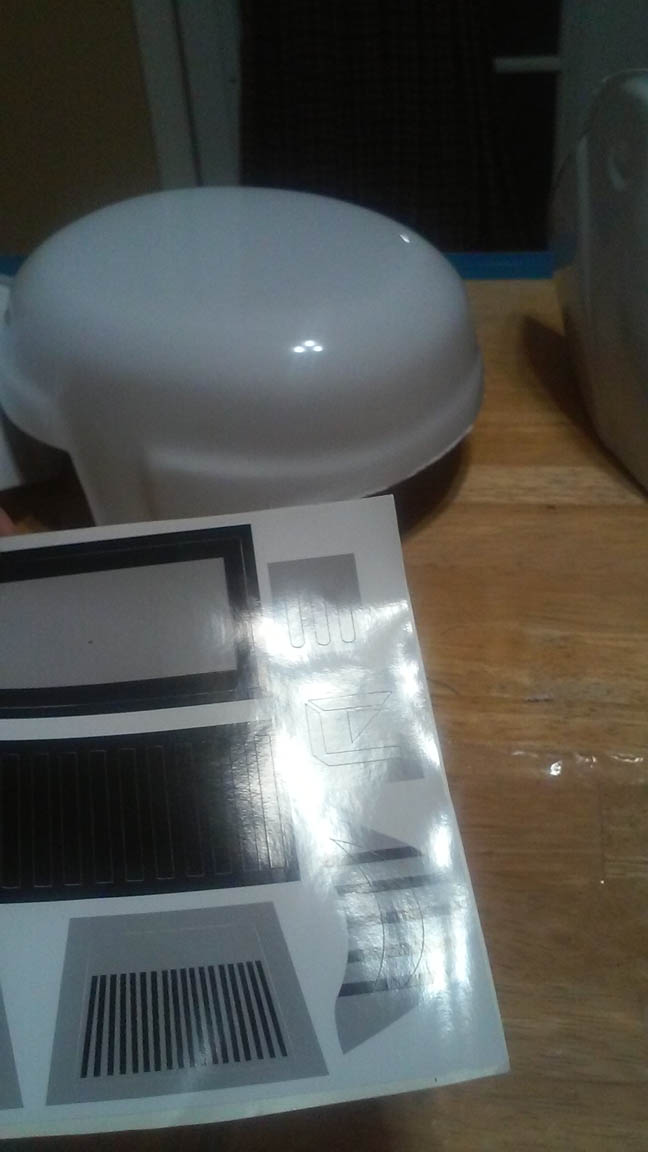
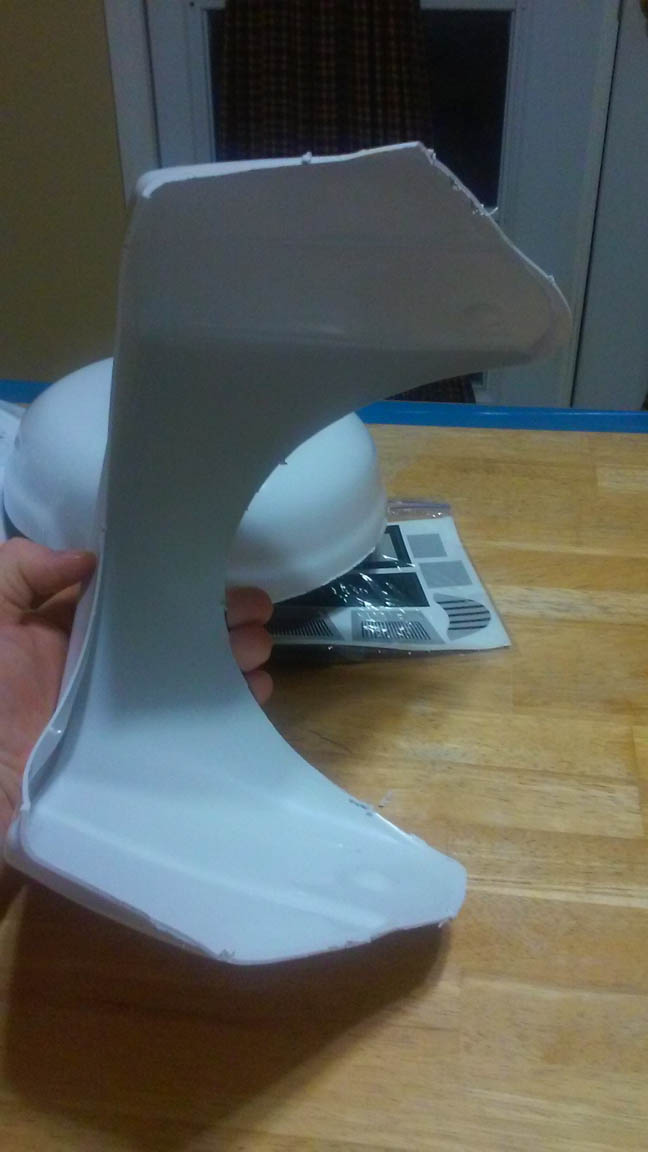
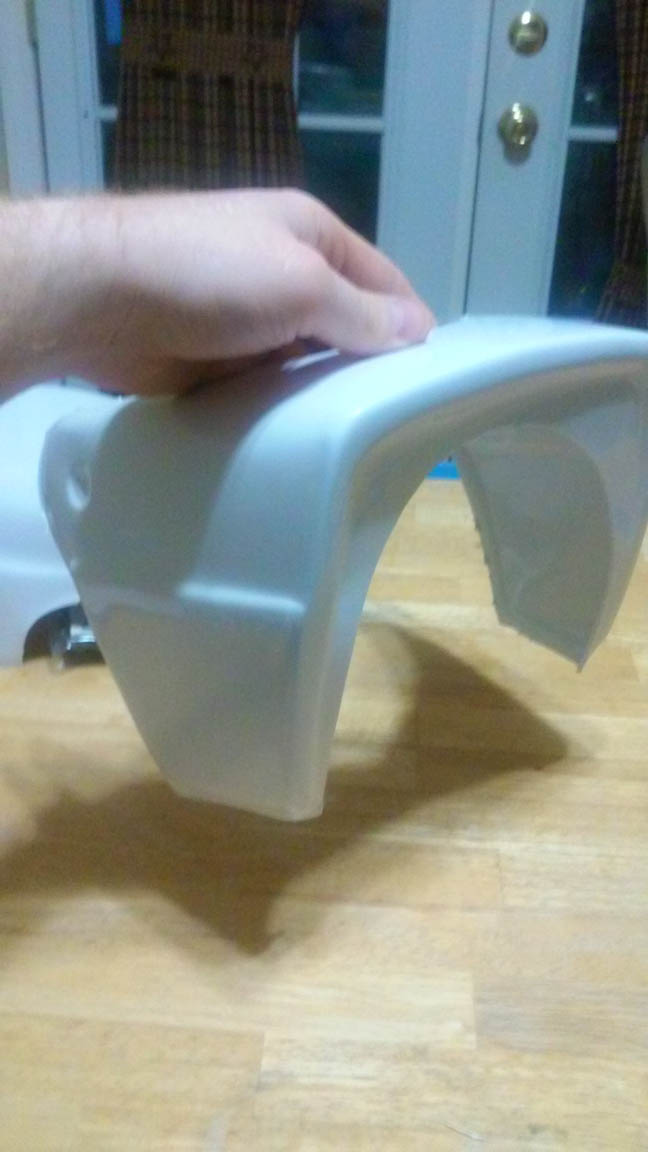
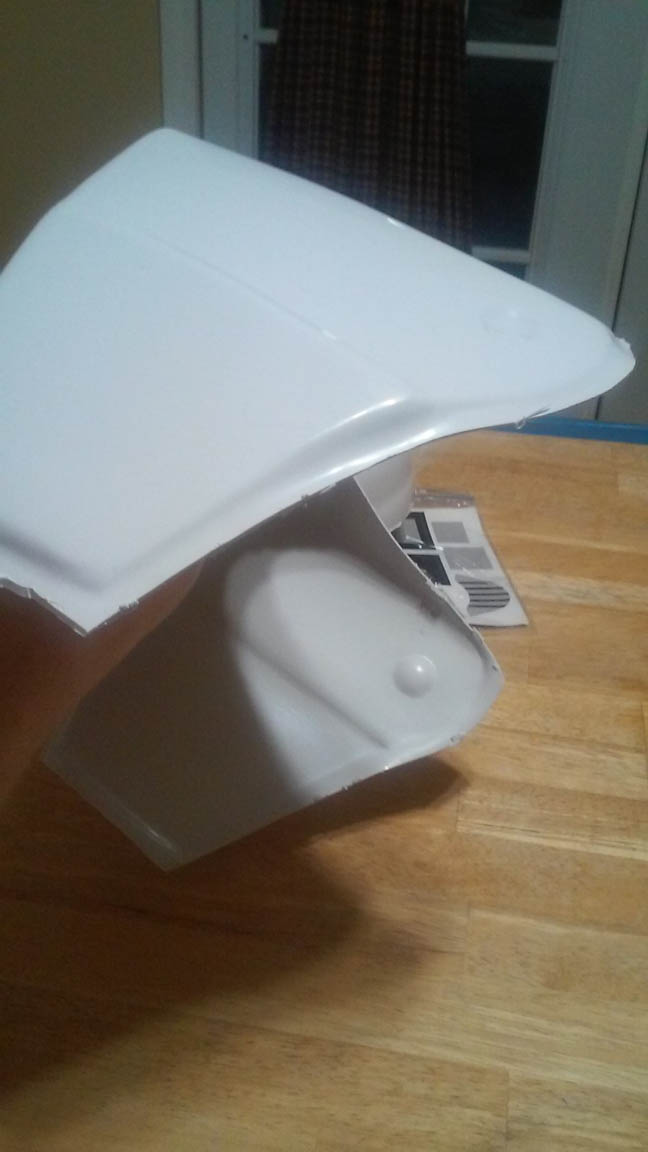
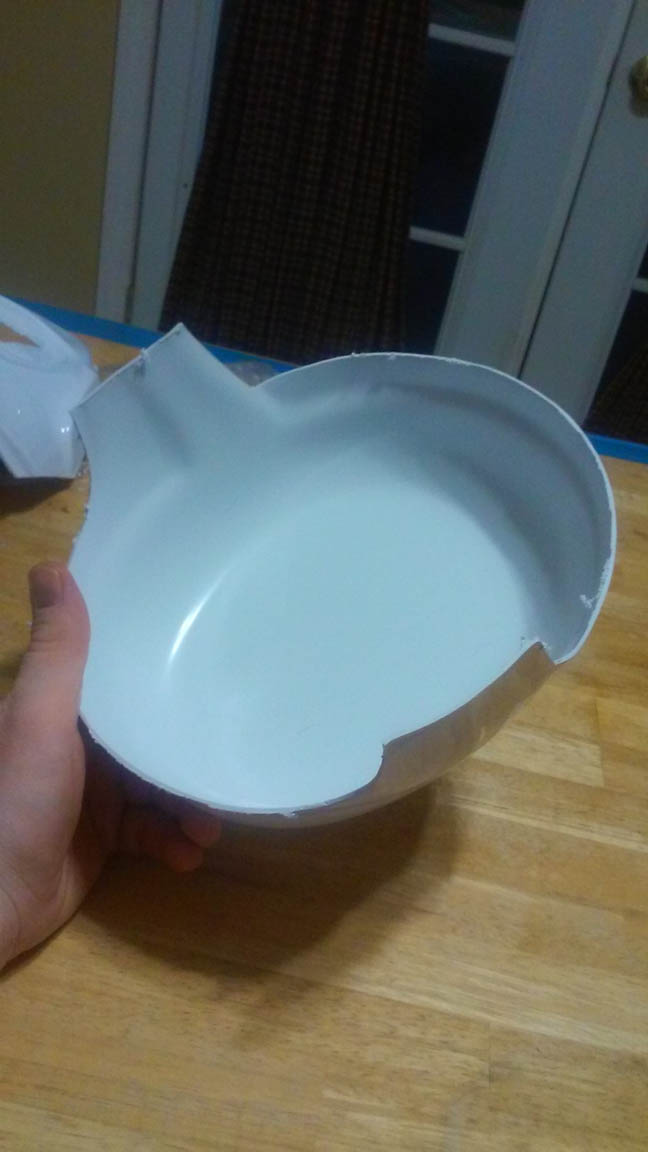
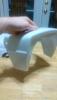
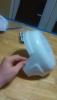
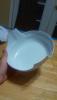
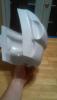
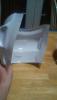
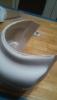
Day 1 Pics... Always remember, safety first! Laying everything out... Trimmed the visor... Visor was trimmed with the dremel cutting wheel and sanding wheel... Cleaned up with some 300grit sand paper afterwards. (visor is not attached) Edges were cleaned up using dremel sanding wheel and 300grit sandpaper afterwards. Leaving the side holes for after painting the inside of the helmet black.
-
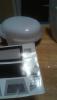
Out of the box... Gribblies (I will not be using the button covers, nor the mesh.) Visor (Rough trimmed by KS) Faceplate (Rough trimmed by KS) Back globe (Rough trimmed by KS) Top dome (Rough trimmed by KS) All pieces have been fully trimmed as of today and I am in the process of prepping them to paint the inside black. I will post more photos and update tomorrow with my progress.


-
Day 1: Everything trimmed. Next step is to paint the inside black. I did this with a TK bucket and really liked the look. Also this will help with the depth on the side holes so that I do not have to use the mesh KS sent with their kit. After painting, I will do a soft assembly with painters tape to line pieces up before using glue/bolts to permanently attach everythibg together. I will post some photos when I get on my laptop. They seem to be too large of a file to upload from my phone.
-
So here is the beginning of my journey towards building my TB. I selected KS's kit to be able to build from scratch and modify parts needed for Lancer and comfort during the build. Base Kit: KS Upgrades: - Spray paint inside black - Helmet padding (replacement baseball pads) - replacing plastic bolt covers with 3m plastic bolts - Install magnet to secure face plate when lowered - Add chin cup - Fans and other electronics - Upgrade snout gribblie and decals