tfett40
-
Posts
48 -
Joined
-
Last visited
-
Days Won
2
About tfett40
Recent Profile Visitors
35 profile views

-

Teddy’s Mandalorian Scout Build
tfett40 replied to tfett40's topic in Scout Trooper: "The Mandalorian" WIP
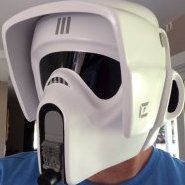
My soft goods were done by Chris. Weathering the soft goods is easy. You will still be using the original desert yellow-brown/red mix. Using a small thin paint brush, dab the tip in the paint (do not go heavy). Follow the seams with the paint brush to make this detail stand out. After each line, use a wet cloth and rub it up and down the seams to spread the paint. Once all the seams are done. Use the remaining yellow-brown mix and airbrush it the both the cummberbun and flightsuit to your preference of weathering. Once again, I am limited on the images I can post, so click on the link to see the process: https://imgur.com/a/NO9Wguj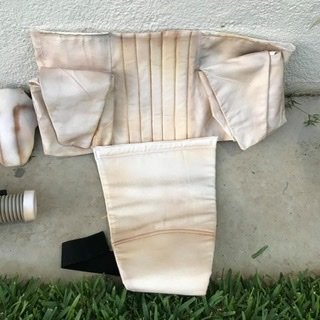
-
Teddy’s Mandalorian Scout Build
tfett40 replied to tfett40's topic in Scout Trooper: "The Mandalorian" WIP
Step #3 After the first layer of paint dries, I start applying heavier weathering of the yellow/brown mix with the airbrush. While the paint is still wet, I take a dry cloth and start dabbing the fresh paint to create distress marks at certain points on the armor and helmet. Try not to over do it. Less is more in my opinion. Once, I was happy with this layer or weathering, I pulled back the maskol. Once this second round of weathering detail is done, I protect it with a light coat of clear coat spray ( I like using Testors). The reasonIng for clear coatings is because on the next round of weathering, if I am not happy with It, I can simply take water and rub it off and start over without really affecting my first round of weathering. Since this site limits me on the size and number or images I can post, here is link to more image of the armor up to this point: https://imgur.com/a/xUbJlIk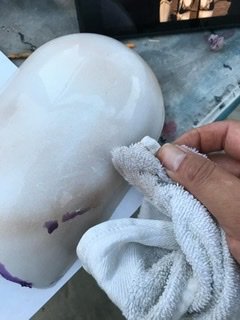

-
Teddy’s Mandalorian Scout Build
tfett40 replied to tfett40's topic in Scout Trooper: "The Mandalorian" WIP
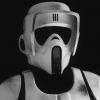
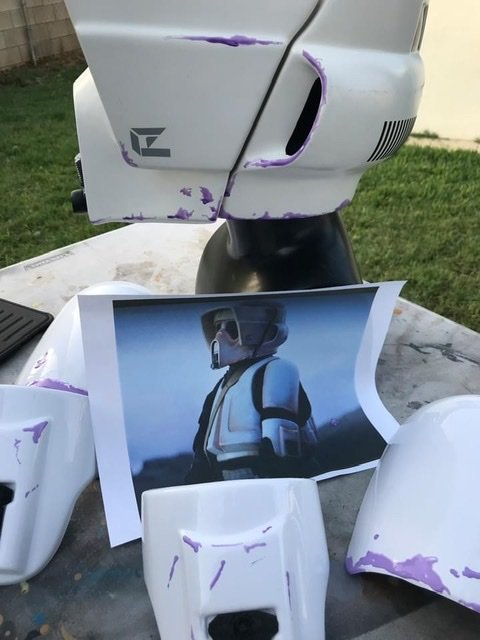
This is how my first pass of weathering looks. There is still alot of shine and white to the armor, so I will continue to add additional weathering layers, little by little. Still keeping the maskol on the armor during this process. Keep in mind I am using the same method for both the armor and helmet, which are painted at the same time.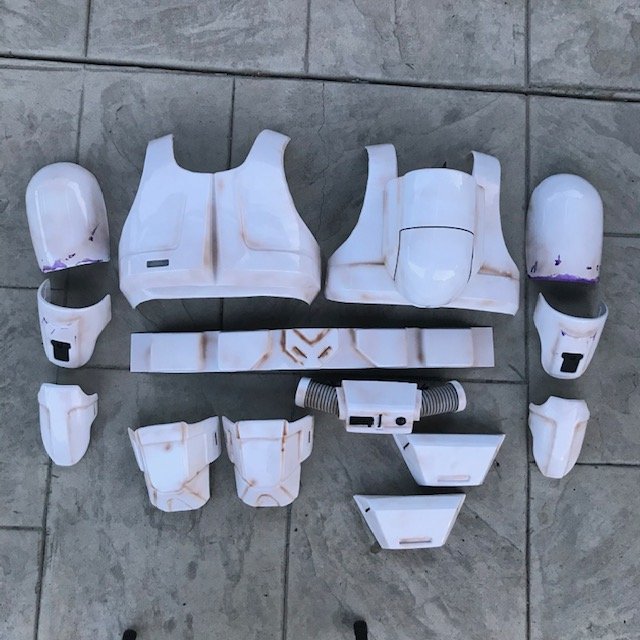
-
Teddy’s Mandalorian Scout Build
tfett40 replied to tfett40's topic in Scout Trooper: "The Mandalorian" WIP
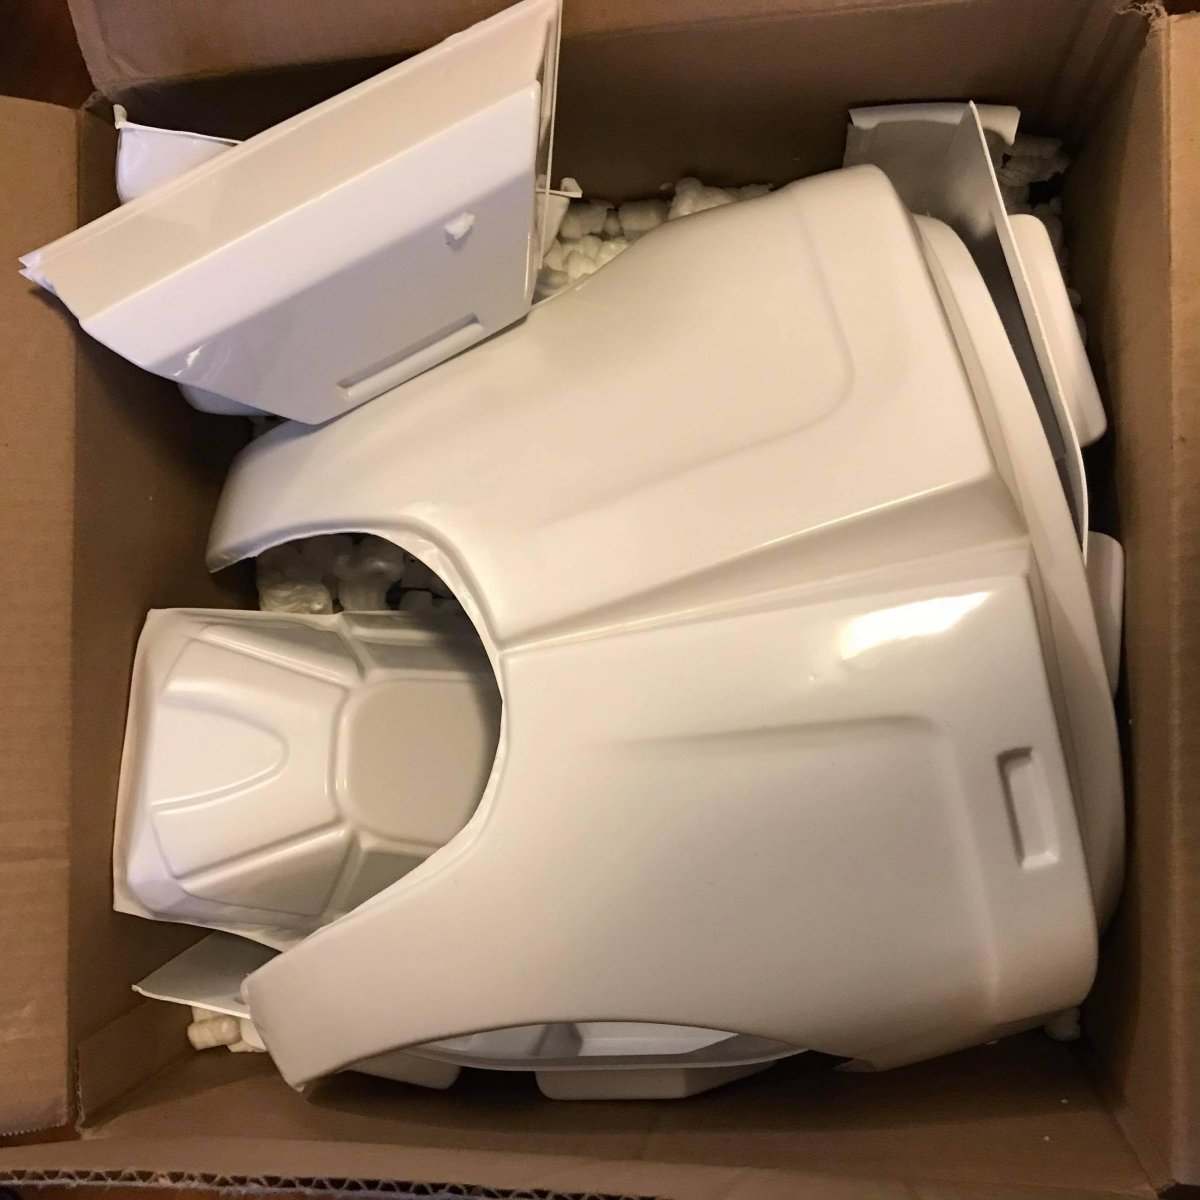
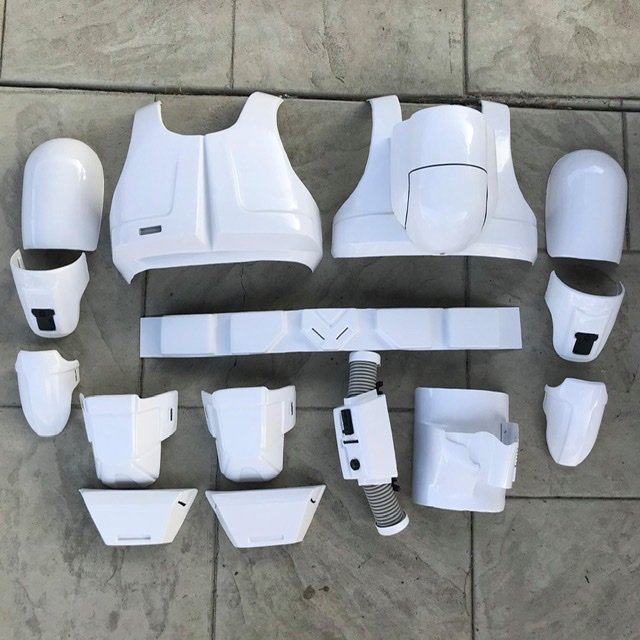
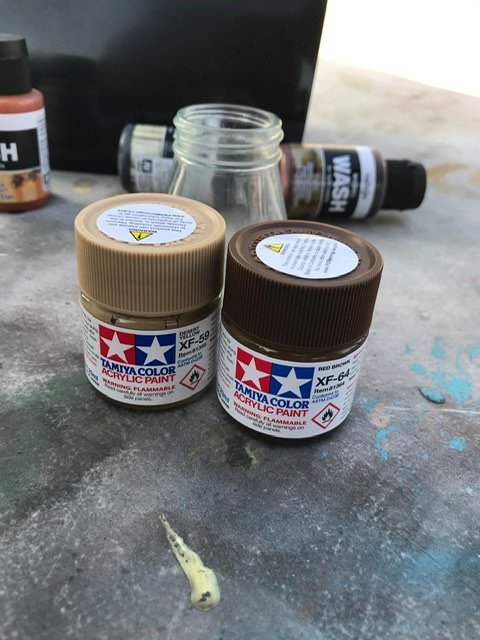
Trimming and sanding is the not so fun part. No need to go into that boring stuff After all the boring stuff is out of the way, time for the fun to begin...paint. A few months back, I painted a Remnant Stormtrooper Helmet and was happy with the results. So I will be taking the same approach and techniques for the Scout. To get this look, I mainly used an airbrush. The paints I will be using are Vallejo and Tamiya Acrylics. The Remnant colors are earth toned with mixes of yellows, browns, blacks and reds. I like using the airbrush because I have better control of how the paint is applied. Step 1 I notice several areas on the armor and helmet that had spots that were barely weathered, to achieve this, I used Maskol to mask those areas and used screen captures to guide me. Step #2 Mix up Desert Yellow ( 75%) and Brown-Red mix (25%). I use this combo as my base. I used a lot of the screen captures from the show and photos I took from D23 to guide me in how heavy I applied the paint. Definitely follow the grooves on the armor and darken those section. Start with a light coat of paint on the armor/helmet, 360. Step away, take a photo, evaluate and add more where you think is need.


-
I’m taking the plunge into building the Mandalorian Biker Scout. Despite its initial inaccuracies compared to the original, I actually like the weathered down beaten look to it. To get this to look right, I opted to get the Walt Trooper Factory armor and the RS Props Helmet.

-
The MANDALORIAN Biker Scouts
tfett40 replied to Rosso's topic in Scout Trooper: "The Mandalorian" HQ
Here are shots I took at D23 this year of the Biker Scout they had on display. Based on the pattern of the jumpsuit pockets, it looks as if they opted to use a Tie Pilot jumpsuit and no vest. Since my image files are too large, here is a link to Imgur: https://imgur.com/a/Pv02DBw -
The MANDALORIAN Biker Scouts
tfett40 replied to Rosso's topic in Scout Trooper: "The Mandalorian" HQ
I'm on it Mikey! -
The MANDALORIAN Biker Scouts
tfett40 replied to Rosso's topic in Scout Trooper: "The Mandalorian" HQ
I was just happy to see Scouts back in action and on the bikes. -
Sean..Boba, Kylo now a Scout....when is the madness going to stop??? @syllander Lou (darth Voorhess) sells a nice lightweight Holdout blaster that fits in your SC armor boot nicely and it is fitted with magnets to secure it.
-
Got my suede patterns from Max's Sci Fi and had my tailor attach them along with the thigh elastic and velcro for the armor to prevent them from shifting. Lastly, I commission Max's Sci Fi to complete my vest, cubberbun and pouches.
-
Nice job
-
Picked up my Pathfinder boots today from Chrisx909x. He did a great job, cut perfectly to size. Beyond what I expected. He saved me a lot of time and grief because I lack the skill of sewing, so dont hesitate to seek his help. Get ahold of Chris here: http://forum.bikersc...showtopic=13640
-
Sorry. that was a half mannequin I purchased in the clothing district in downtown Los Angeles for $40. It has a tiny 32 inch waist, so I placed the Kylo Ren Belt on it and then the Biker Scout belt over it to get a more accurate size to my waist.
-
Form?
-
Very good. Drilling out the slots, really helps out. Did you use the stickers that came with the kit for the tank? Or go with vinyl pinstripes?