furiosa
-
Posts
8 -
Joined
-
Last visited
About furiosa

-

boots finished for HIRNVERBRANNT´s scout
furiosa replied to furiosa's topic in ROTJ Biker Scout Soft Parts
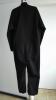
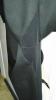
Yes, these stitches we made on the inside and the outside of both boots. Its fully hidden by the dogbone, which is glued over this area afterwards. We used the thickest needle I had in my studio which was about 2-3mm thick and had a sharp front after that we widend the holes with a 5mm thorn. The sewing was done with a quiet thick thread and also the mentioned needle above. Im germany the thickness is called "30", just to compare regular sewing thread has a thickness of " 120" - "100". As you can see on the pic. I sew up along all holes quiet a lot to make it hold thight. I took care, the knots are all hidden and thight also. The sewing was actually done pretty fast, took about 15min all 4 together. I'm sorry, I can't explain it better, since I don't know all the correct english words. -
Hey guys´n gals, yesterday and today weh where busy doing the boots for my BF (hirnvernrannt) before we started we searched a lot in this forum and read quiet a few threads from other members, doing their boots. this helped quiet a lot. It was much fun and I think the boots turned out great ...hope you think the same. attached you find some photos from the production. inside I´ve attached an additional velcro fastening system to attach the boot on the leg. so this will keep the boot from moving down when trooping, especially at the side, where the blaster is attached. an other thing we made different is the attachement of the rear part. as seen and advised in the forum and from other members, it should be fixed by a rivet. But since the rivet may hurt inside, during wearing and also the fixing point is very tiny. we did worry the rear vinly will rip after a few times putting the boot on and off. so we decided to make a mold of thinn plastic (cut from a plastic office folder) and pinned 5 holes inside. which give it more fixation. then we stitched the part down by hand with a thick thread. this is way more comfy inside and the fixation will last forever (i guess ,...and hope) The holster of the blaster is still missing, since we are still waiting for the armor parts from D´chef Rob to arrive. also the pad inside the velcro adjustment is missing. I will sew this, after attaching the holster. so it has the perfect thickness.
-
Thanks, ...concerning the bud flap, I already have aproximate sizes, but the leg flaps are kind of hard concernig the size, lengt at the front crotch, lengt at the back crotch,the lengt at the inner seam, the width and so on. I tryed to find some detailes size infos in the forum. But it seems to me there is non specific, everybody males it different. The 5cm elastics I have already. I assume it's in repation to the size of the suit. Some pics would help
-
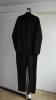
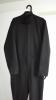
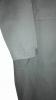
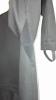
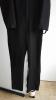
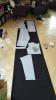
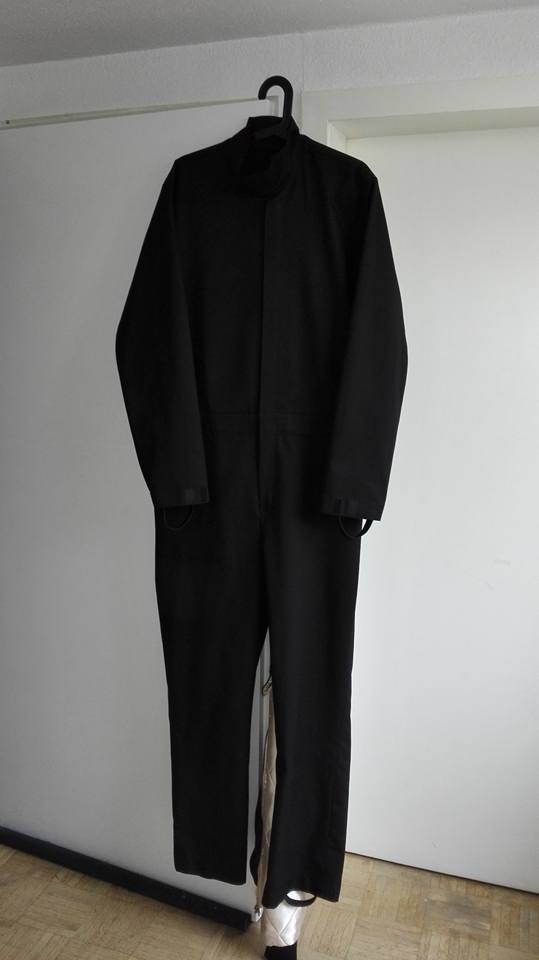
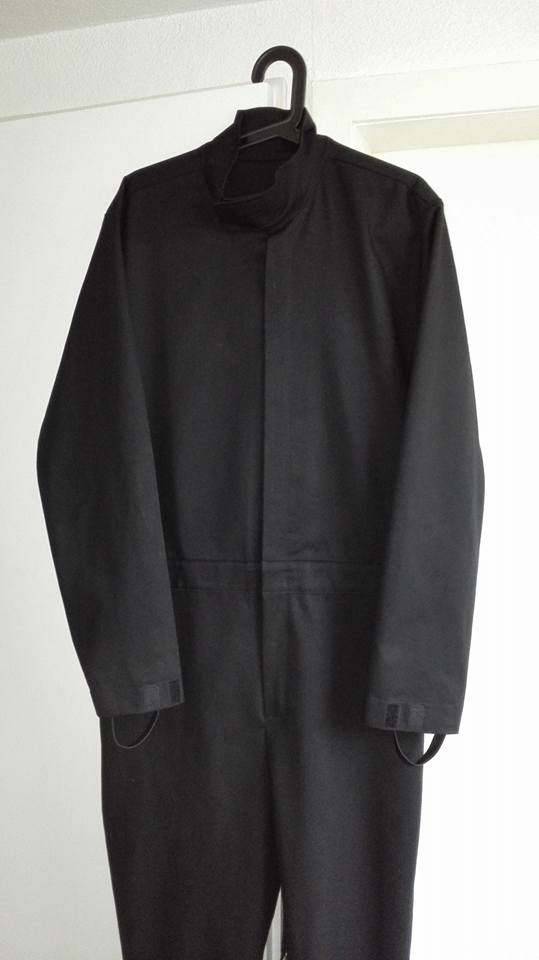
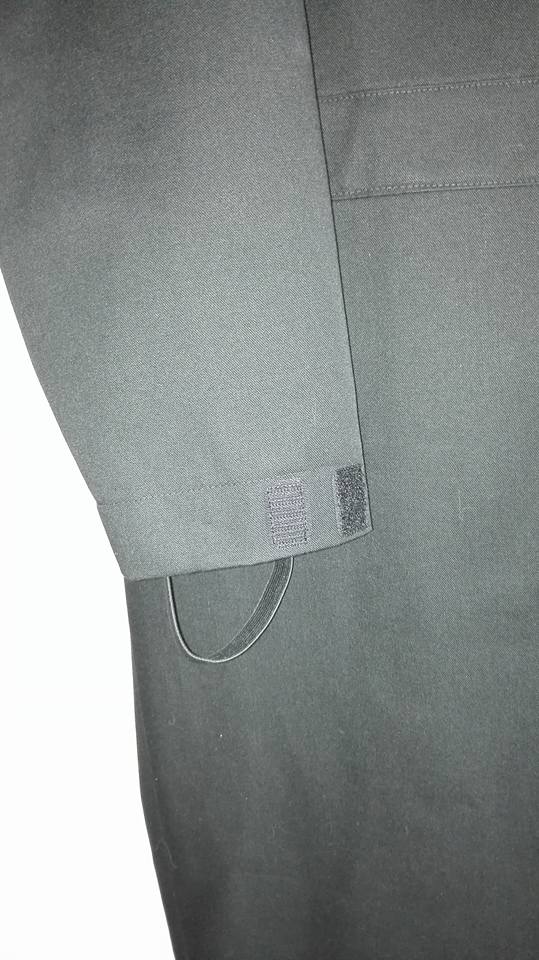
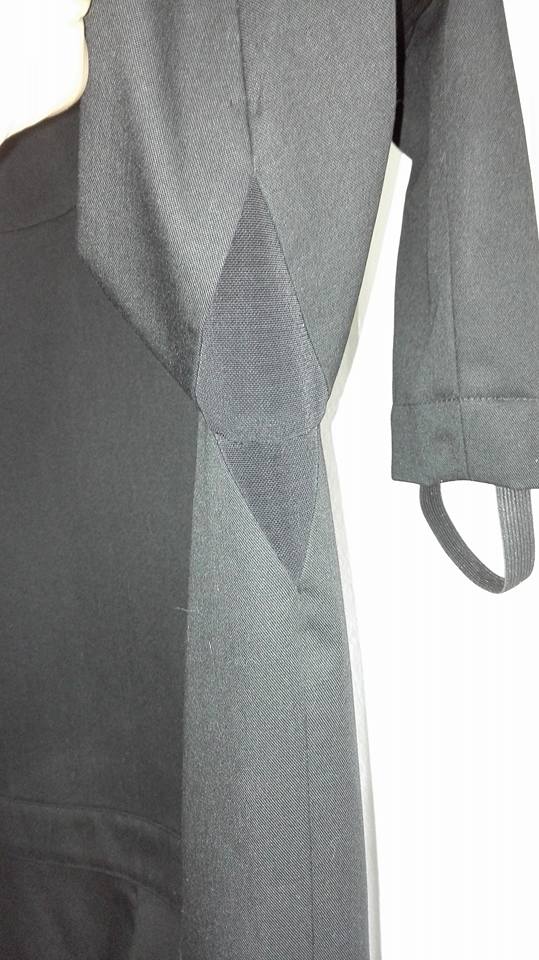
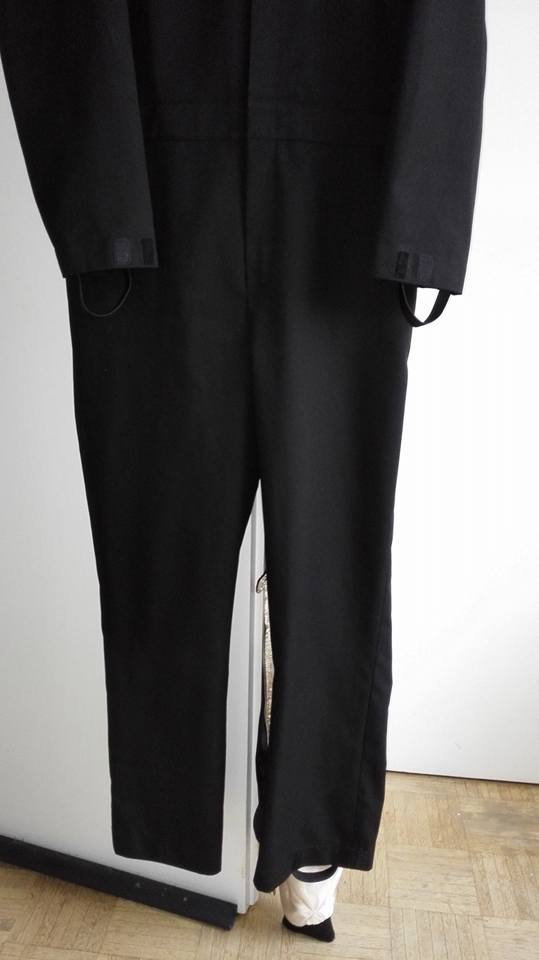
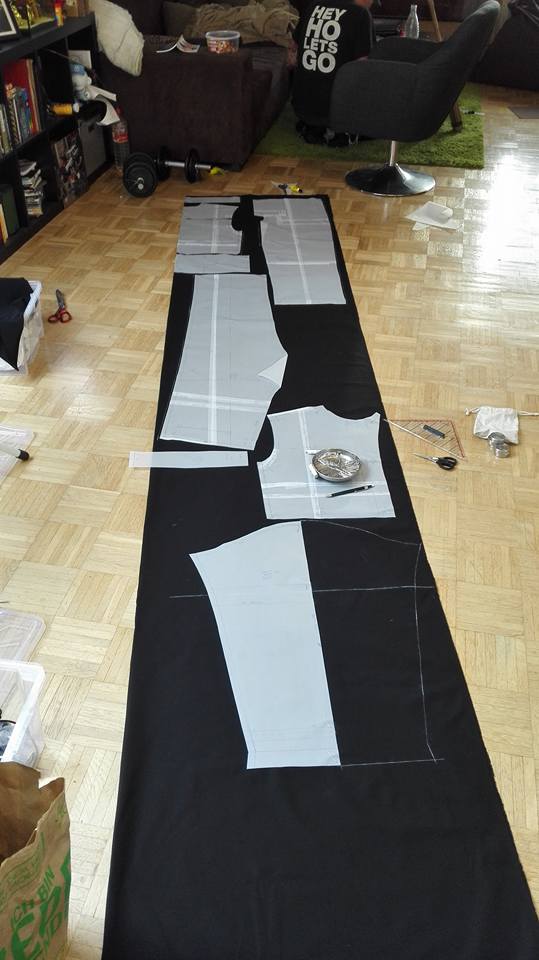
Hi gals 'n guys, as first I would like to appologize in advance for wrong spelling or using false words, I'm from germany and not native speaking english right at christmas, I've finished the first soft part for my BF flight suit. Since I'm a profesinal seamtress we've decided to custom make all the main soft parts such as flight suit, cummerbund and flak vest. The flightsuit is finished just rigth now. As a basic pattern I used a regular flight/worker suit as inspiration, but skiped all pockets on front an back, as well as the entrys which are usualy at the side pockets. The front zipper is hidden and 2-way. It goes right up to the collar. The collar is a standing collar, with flap and velcro closure. I also construated a little specialliaty. In the crotch (between the legs) and under the arms I made some inserts of power mesh for better ventilation. Since those parts are hidden anyway later you wont see them. I guess it gets pretty warm in the complete armor while trooping so thats a little benefit keeping him a little bit cooler Additionaly I added some elastic straps and velcros at the sleeve and foot hems to hold sleeves and legs in place while trooping and it makes it far mor easy to enty gloves and shoes. The fit is not baggy but not slim fit on him. We tryed to take special care for that. My BF seems to be quiet comfy in this new flight suit, at least he is quiet happy since this piece is a big step to the complete scout uniform. Now the mudflap on the back and the chaps (not sure how to call them correctly) between the legs out of suede leather are missing. I will apply them with velcro to keep them detachable, so the suit can be washed easily. I will keep you posted about that. We'd like to reach 2nd level for at least the soft parts right away, so your comments and advice on what ever are very welcome. I've attached some pics, unfortunately not while wearing. ...he seems to be quiet shy at the moment I´ve also attaced one pic from the first cutting, before the first fitting Thanks for your comments in advance. Antje