
All Activity
- Last week
-
 wit_grizzly_cosplay joined the community
 -
 Pastibear joined the community
 -
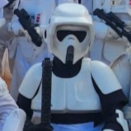
 Tk11714 changed their profile photo
 -
 SDFC Daddy Mando joined the community
 -
 Kit_Fistor joined the community
 -
 Tx10389 joined the community
 -
 ItsmeLuke joined the community
 -
 Dorb1tos joined the community
 -
 TK-98097 joined the community
 -
 JmC20223 joined the community
 - Earlier
-
 Vortexmakes changed their profile photo
 -
 Howzer13 changed their profile photo
 -
 Frankie changed their profile photo
 -
 SpicyXRamen changed their profile photo
 -
 DarthShinzu changed their profile photo
 -
 JGattonII changed their profile photo
 -
 Burner changed their profile photo
 -
 PaoloneScout changed their profile photo
 -
 Llama changed their profile photo
 -
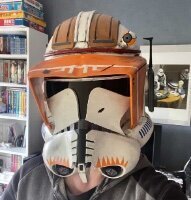
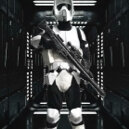
Good afternoon all, I am in the process of upgrading my Scout Trooper uniform to align with 501st Standards and welcome any advice, comments or critiques. I am in Texas and looking forward gaining Level I and hopefully Level II.
-
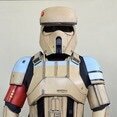
Hello,
I have Altmann's armor that I bought back in 2016. I have had some cracks that are not repairable. I am looking for a new back piece with tank and tank greeblie. How much would this be, shipping time, etc.
Thanks.


")